New to Large Format Photography and 4x5
I just started shooting large format photography (4x5) about a month ago. While I am still getting used to this new camera system, I am really enjoying it. I have had some experience shooting 4x5 years ago in school but its been about 15 years or so. After a few months I plan on doing a more in-depth look and procedure on shooting with my Toyo 45AX Field Camera. For now I just want to share what I have in my camera bag. There are few things that you need in order to be able to shoot 4x5.
One thing that is important to me with any camera equipment is portability. Are you willing to lug around your gear? That being said, large format photography requires that you need to carry a decent amount of gear and items with you. So planning your shoot is important and it’s a good idea to thoroughly go over what you need for a particular shoot.
If you would like recommendations about cameras and lenses I would look at Alex Burke’s and Michael Strickland’s blogs/write ups. These helped me out with purchasing my equipment.
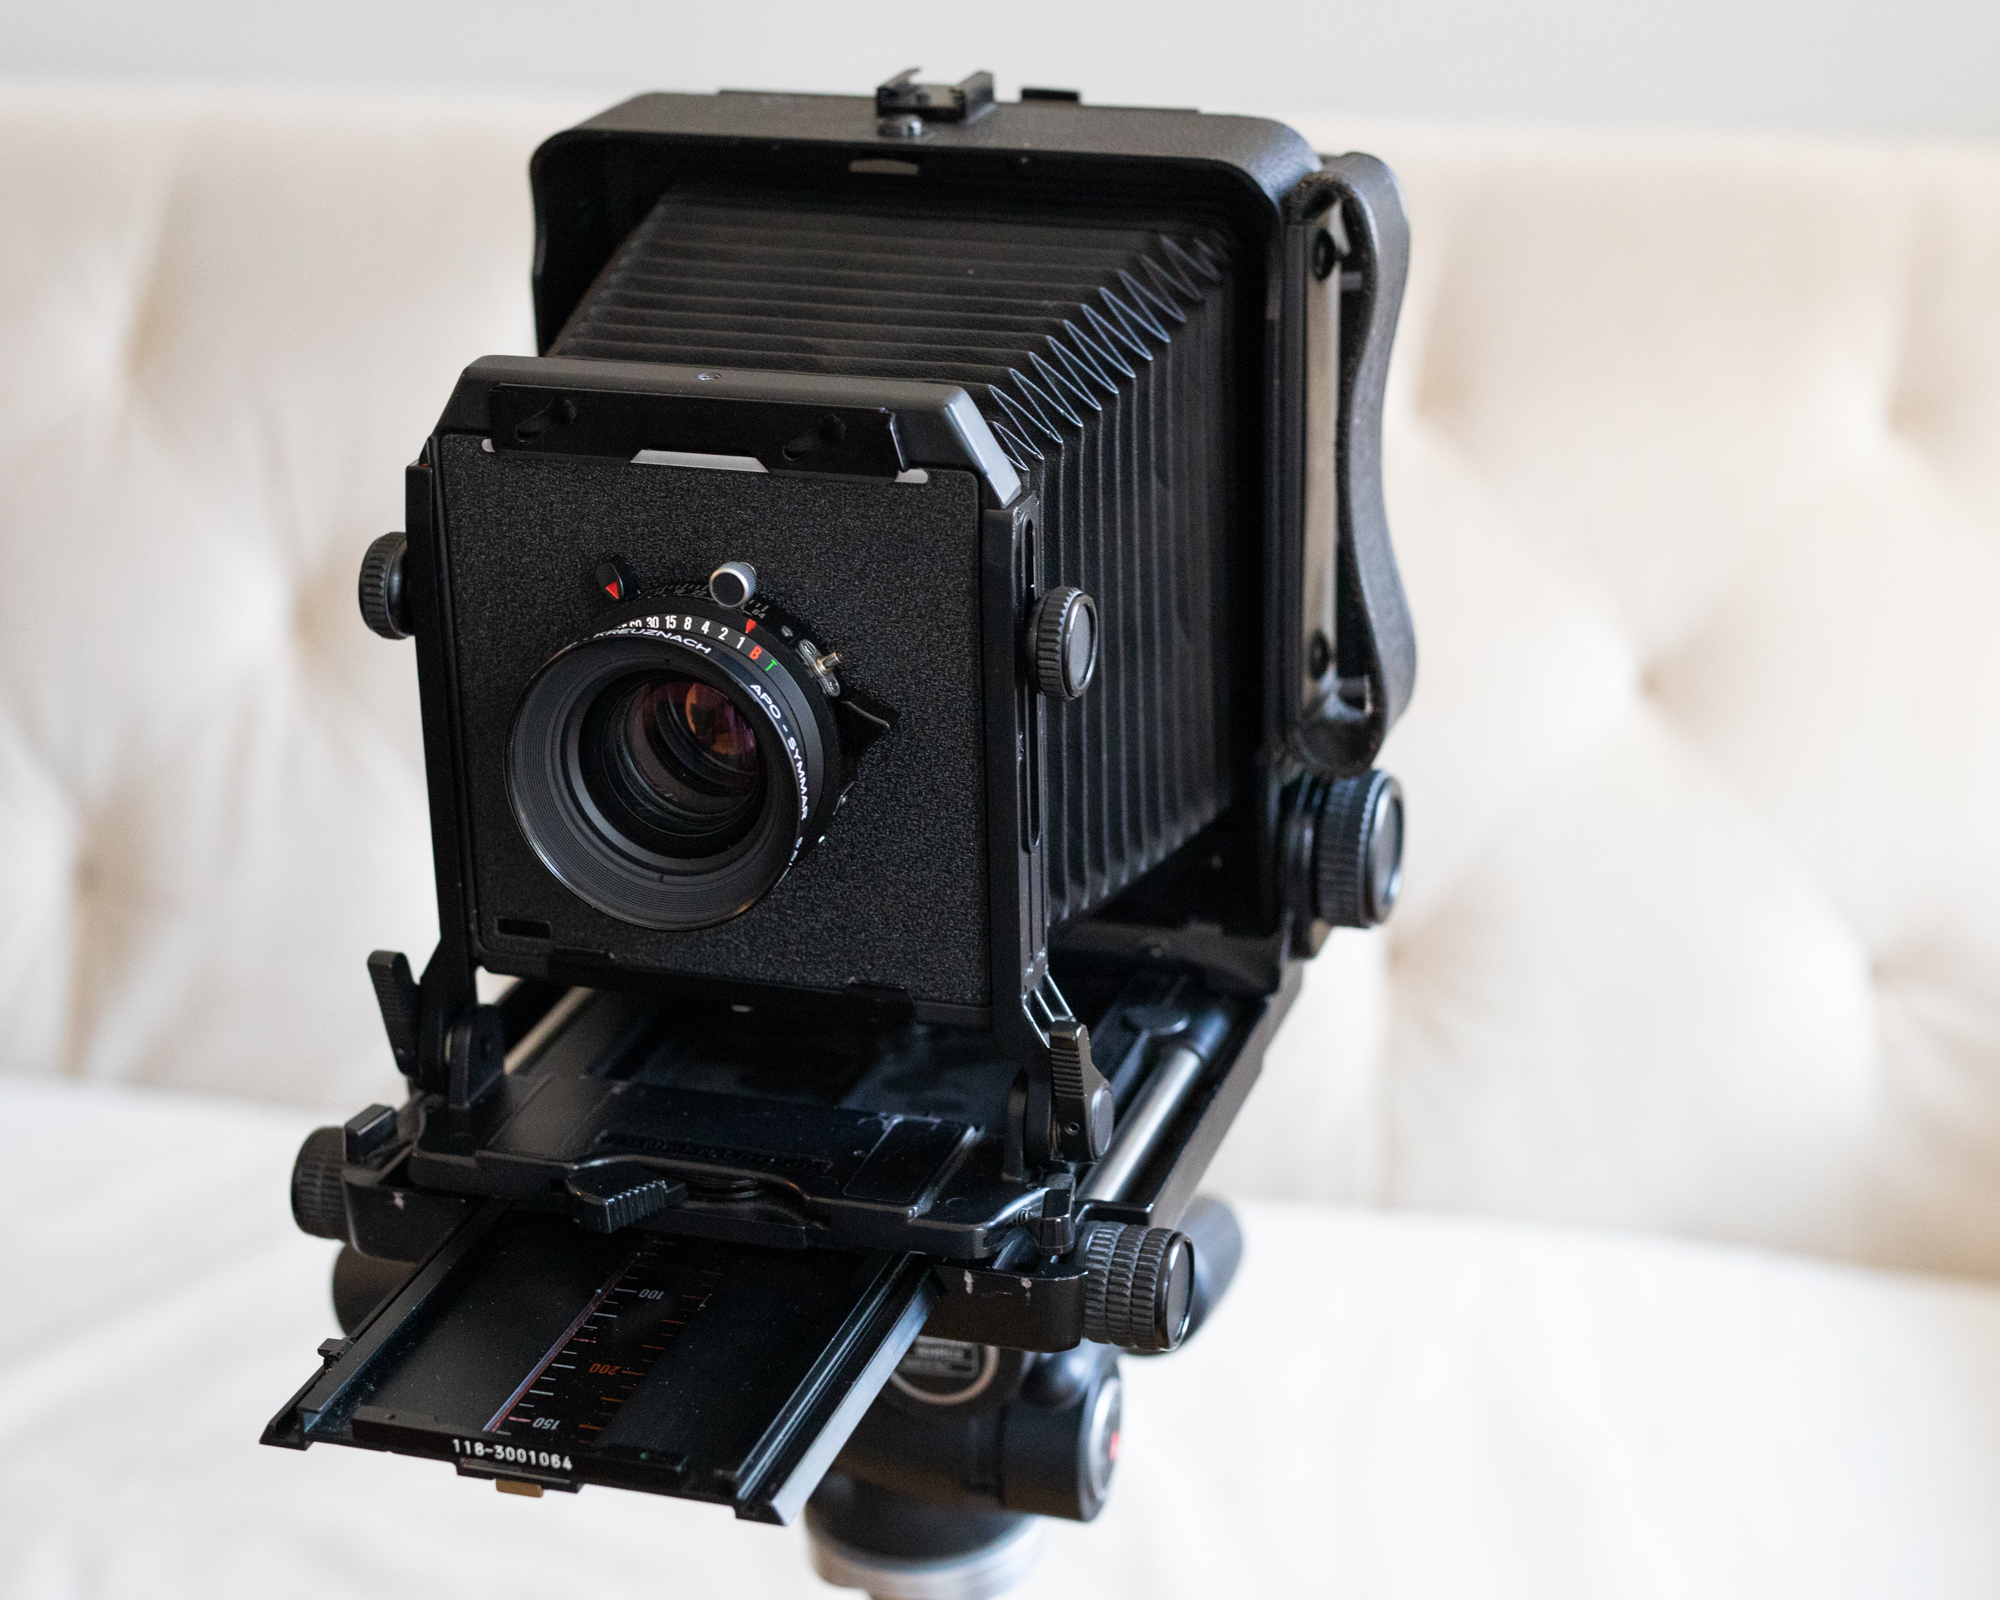
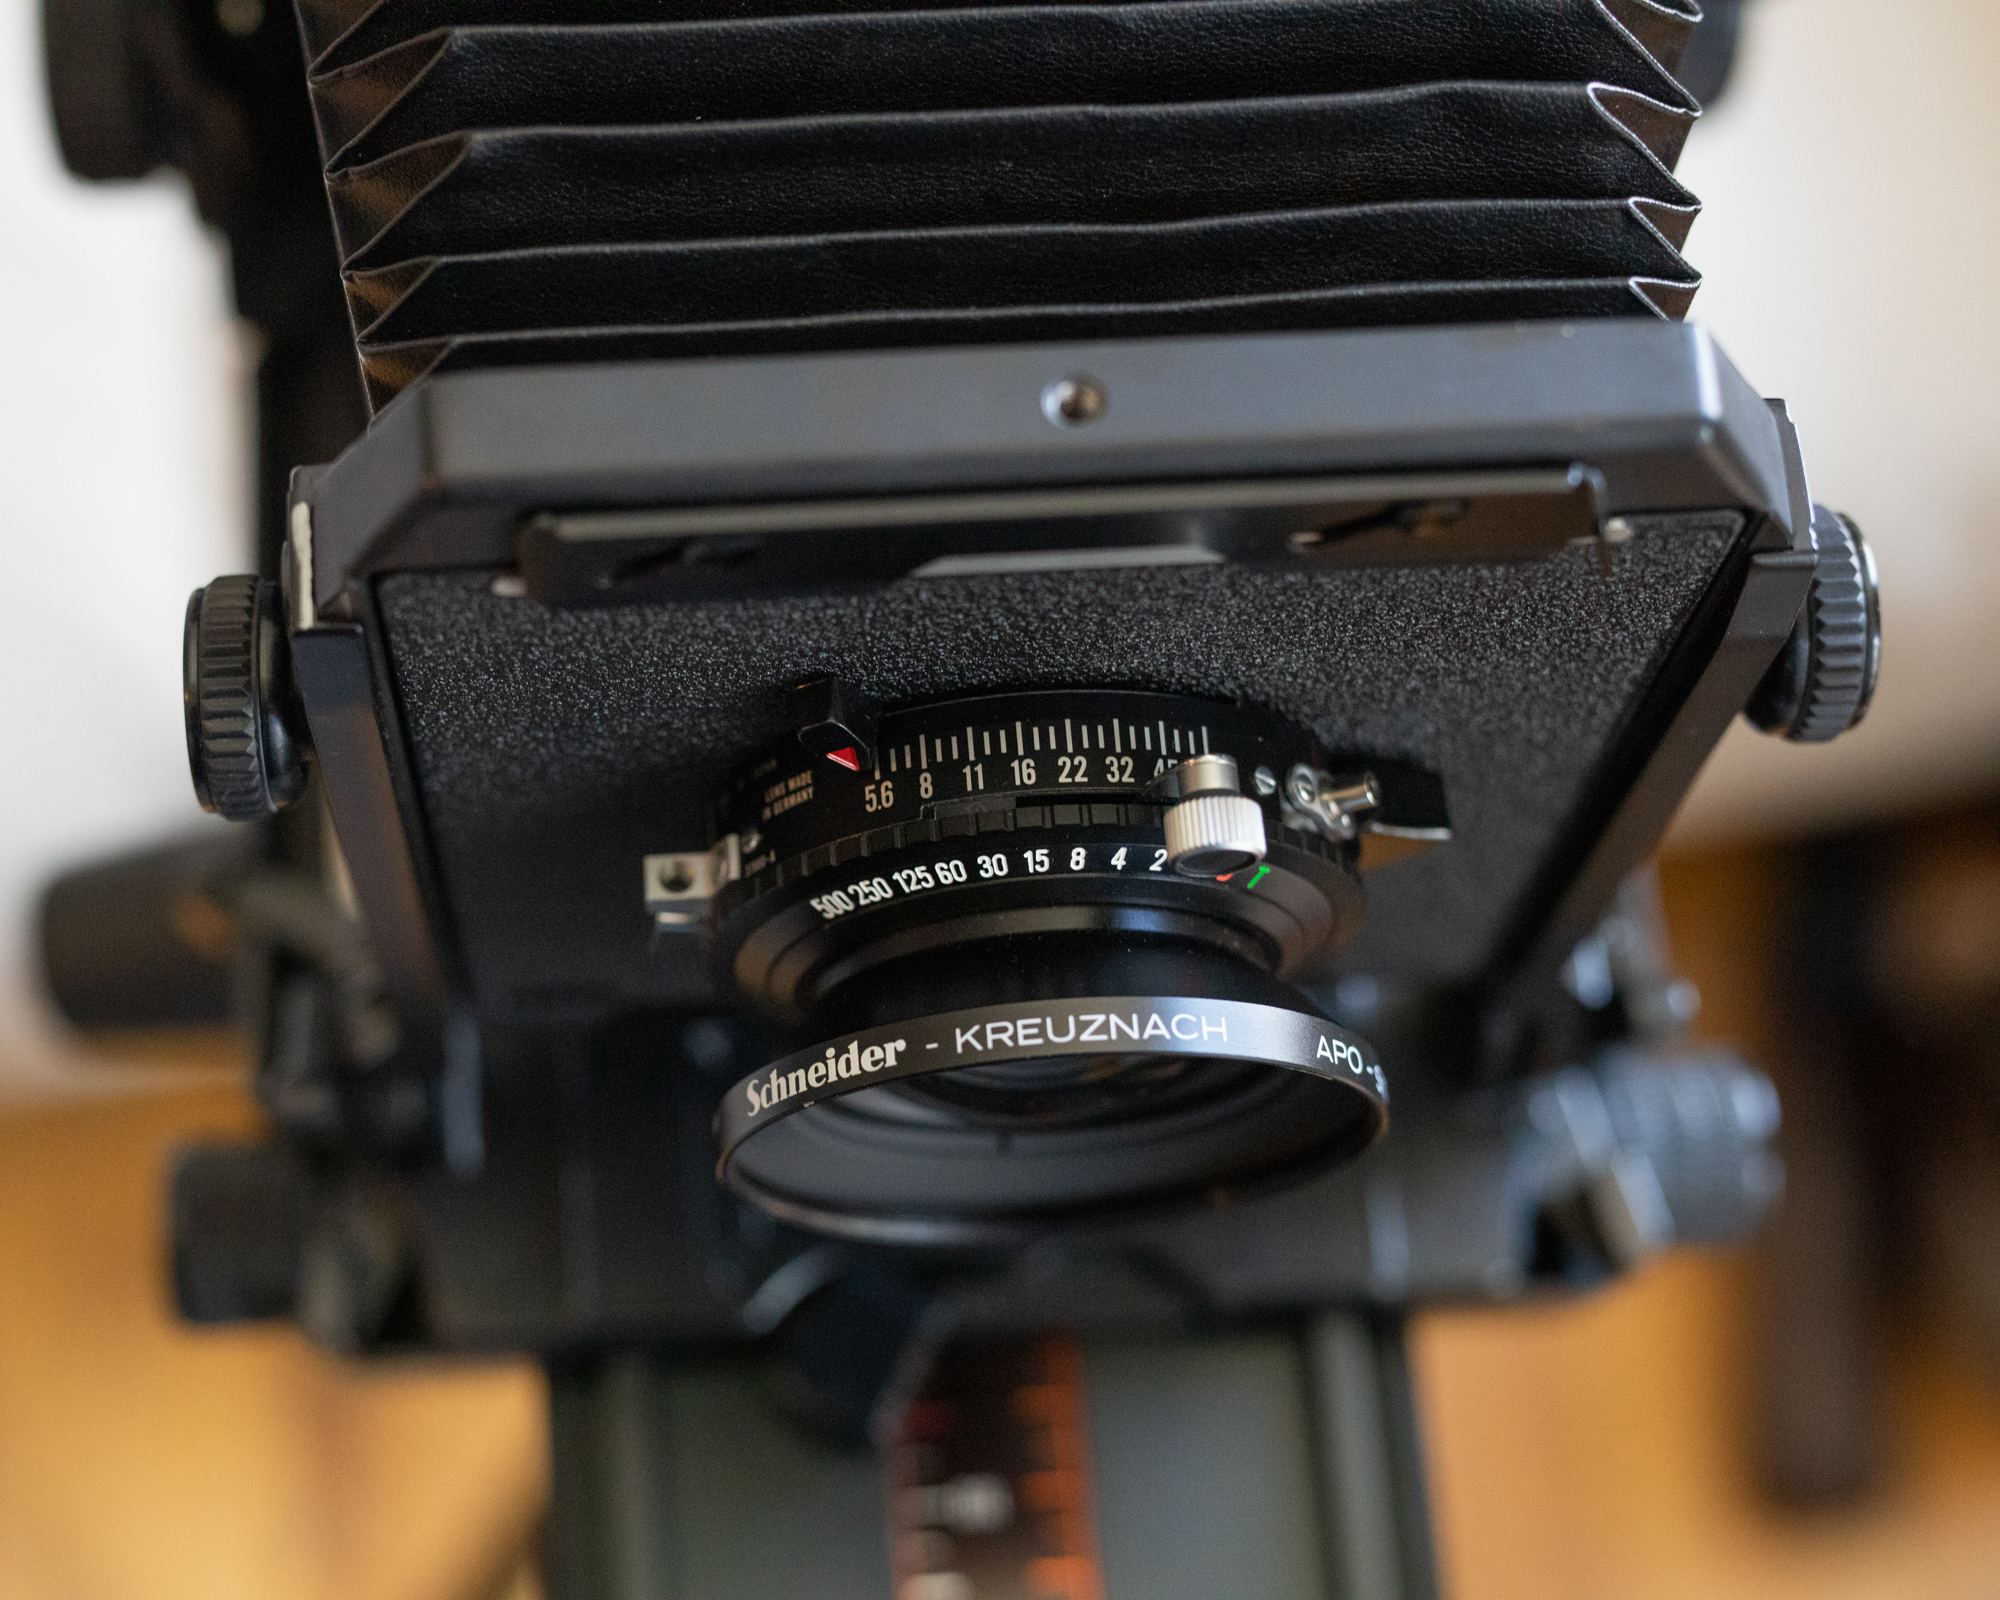
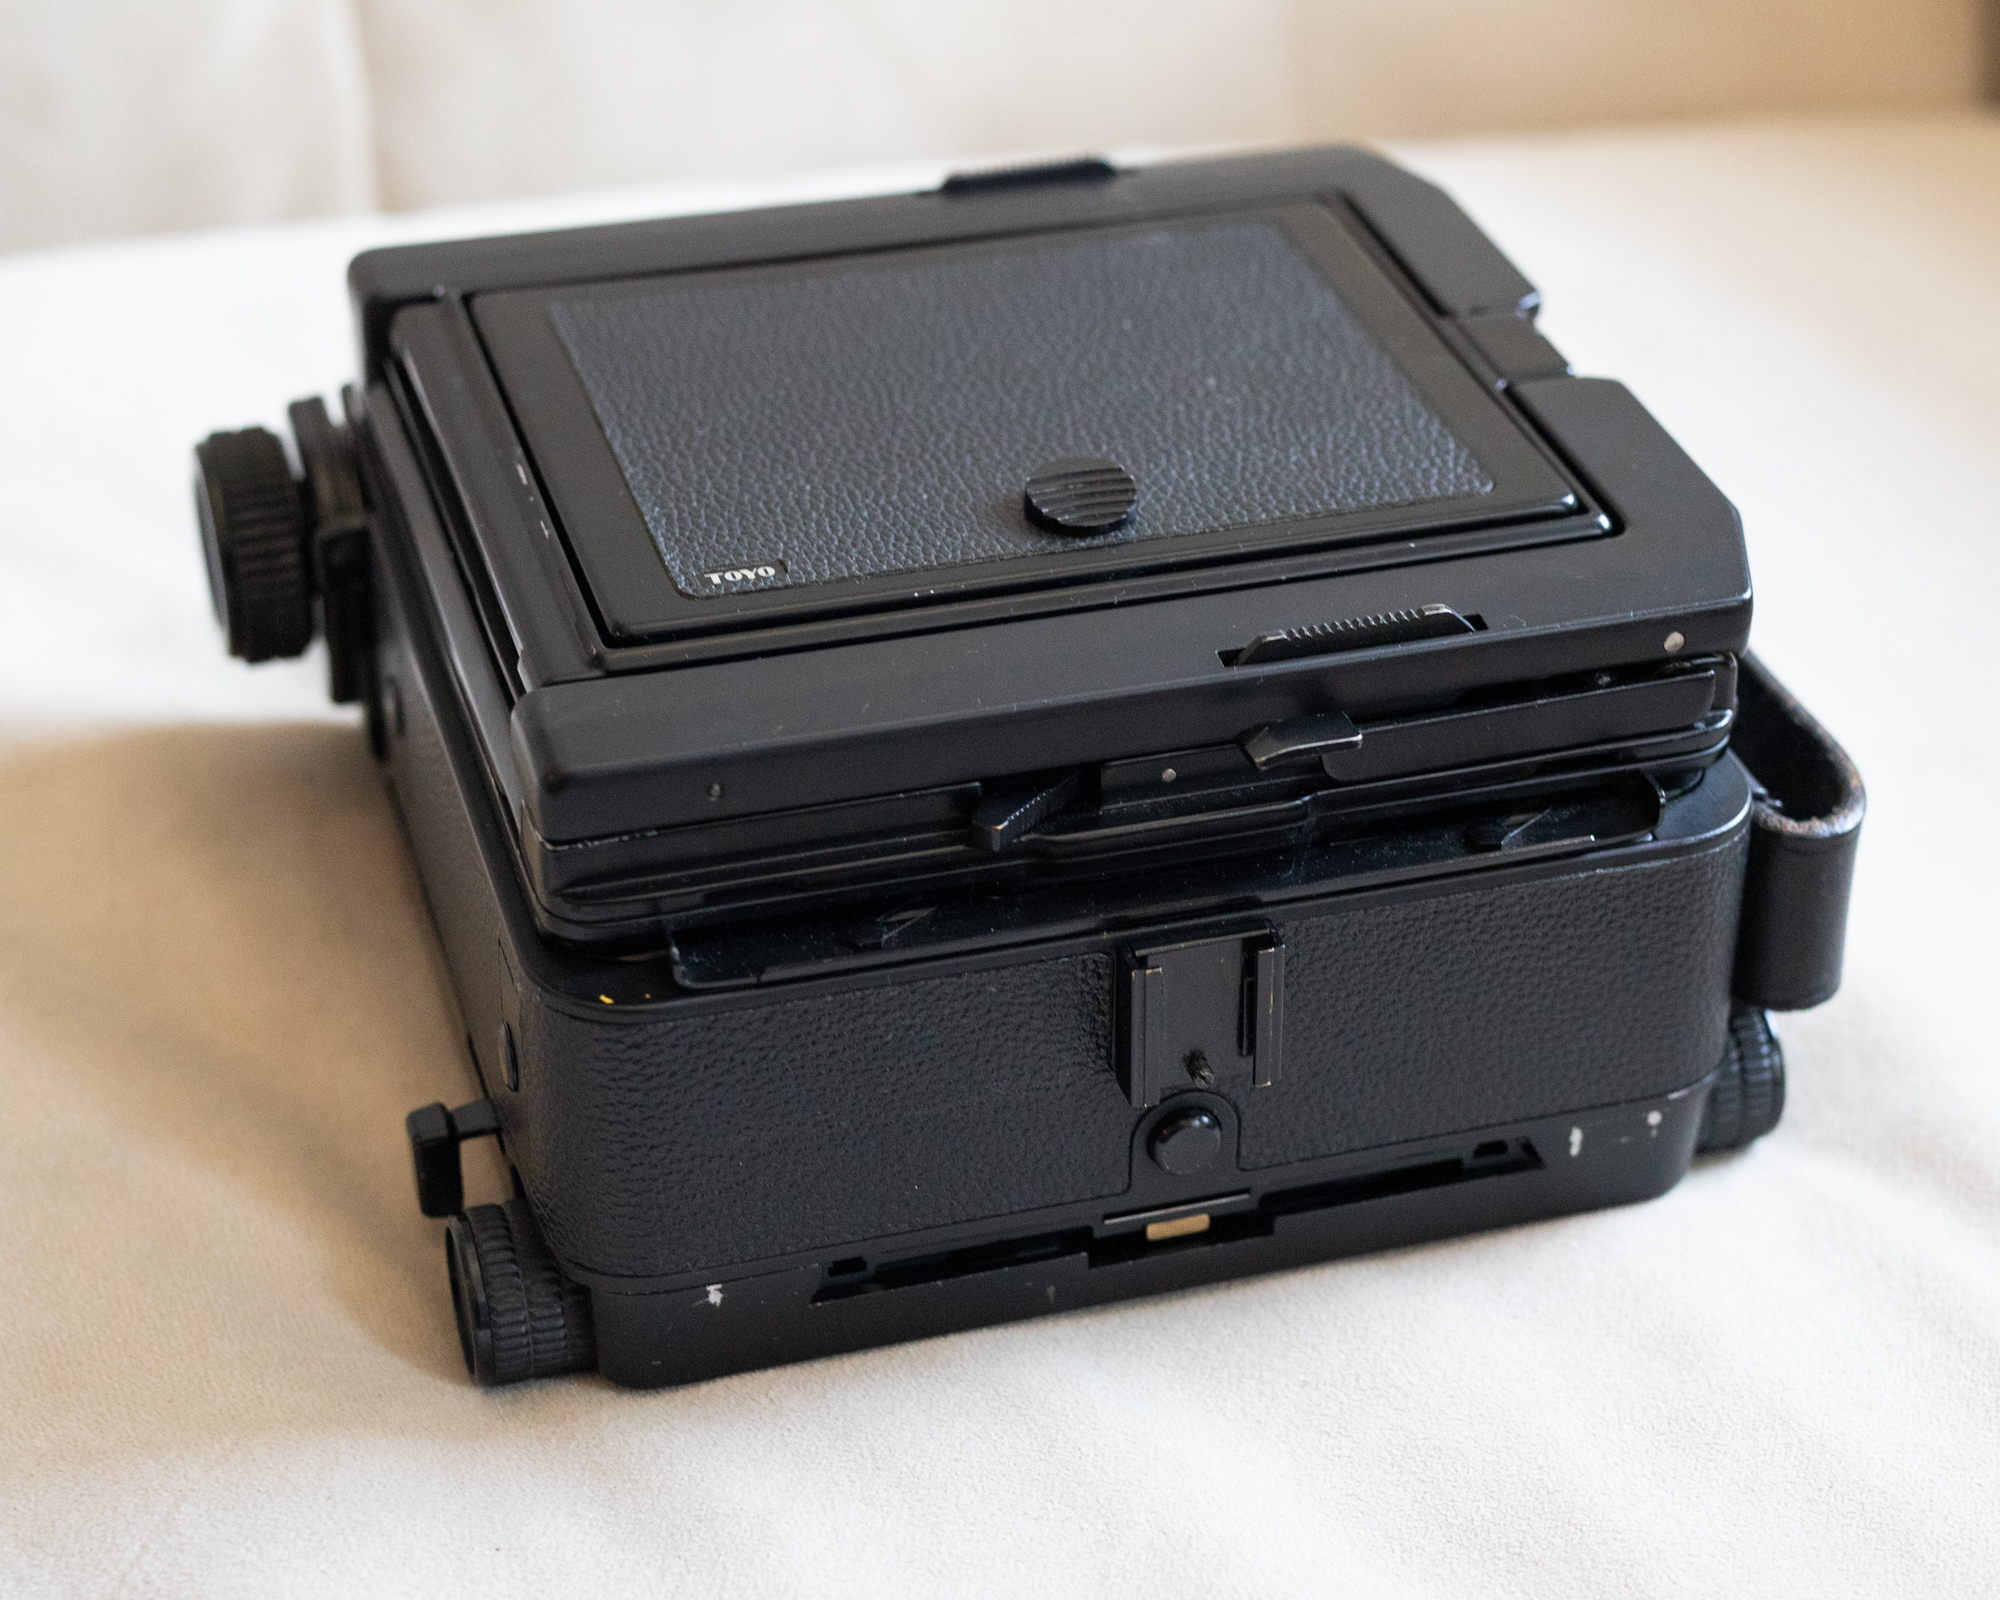
Toyo 45AX Field Camera and Schneider Kreuznach 150mm APO Symmar
You need a 4x5 camera and lens to start taking photos. I opted for a Toyo 45AX Field Camera. I knew that I wanted a field camera because it could fold down easily and be compact during transportation. Toyo still produces this camera and other 4x5 cameras. They have a pretty good reputation of being well made and reliable. Brand new this camera is north of $2000 but you can find different variations of the 45A (A, AII, AX, used) from the $400 to $800 range. While there are other cameras that are lighter, this is a solid camera that is built like a tank. I can attest that it is very well made and it seems like it will last a very long time.
I decided to go with a 150mm lens. This I had to do more research as far as brands. What I did find in my research is that most brands make lenses that are more than adequate to get excellent results. I am very happy with this focal length. It seems to be wide enough for the things I like to shoot and gives you the coverage of what you see with your own eyes. This Schneider lens is in between the the costs of the cheaper to the more expensive lenses. I can’t really compare it with other because I don’t have any experience with anything else. I think I would like something a little bit wider down the road but for now, this lens is perfect to learn on.
Camera Bags
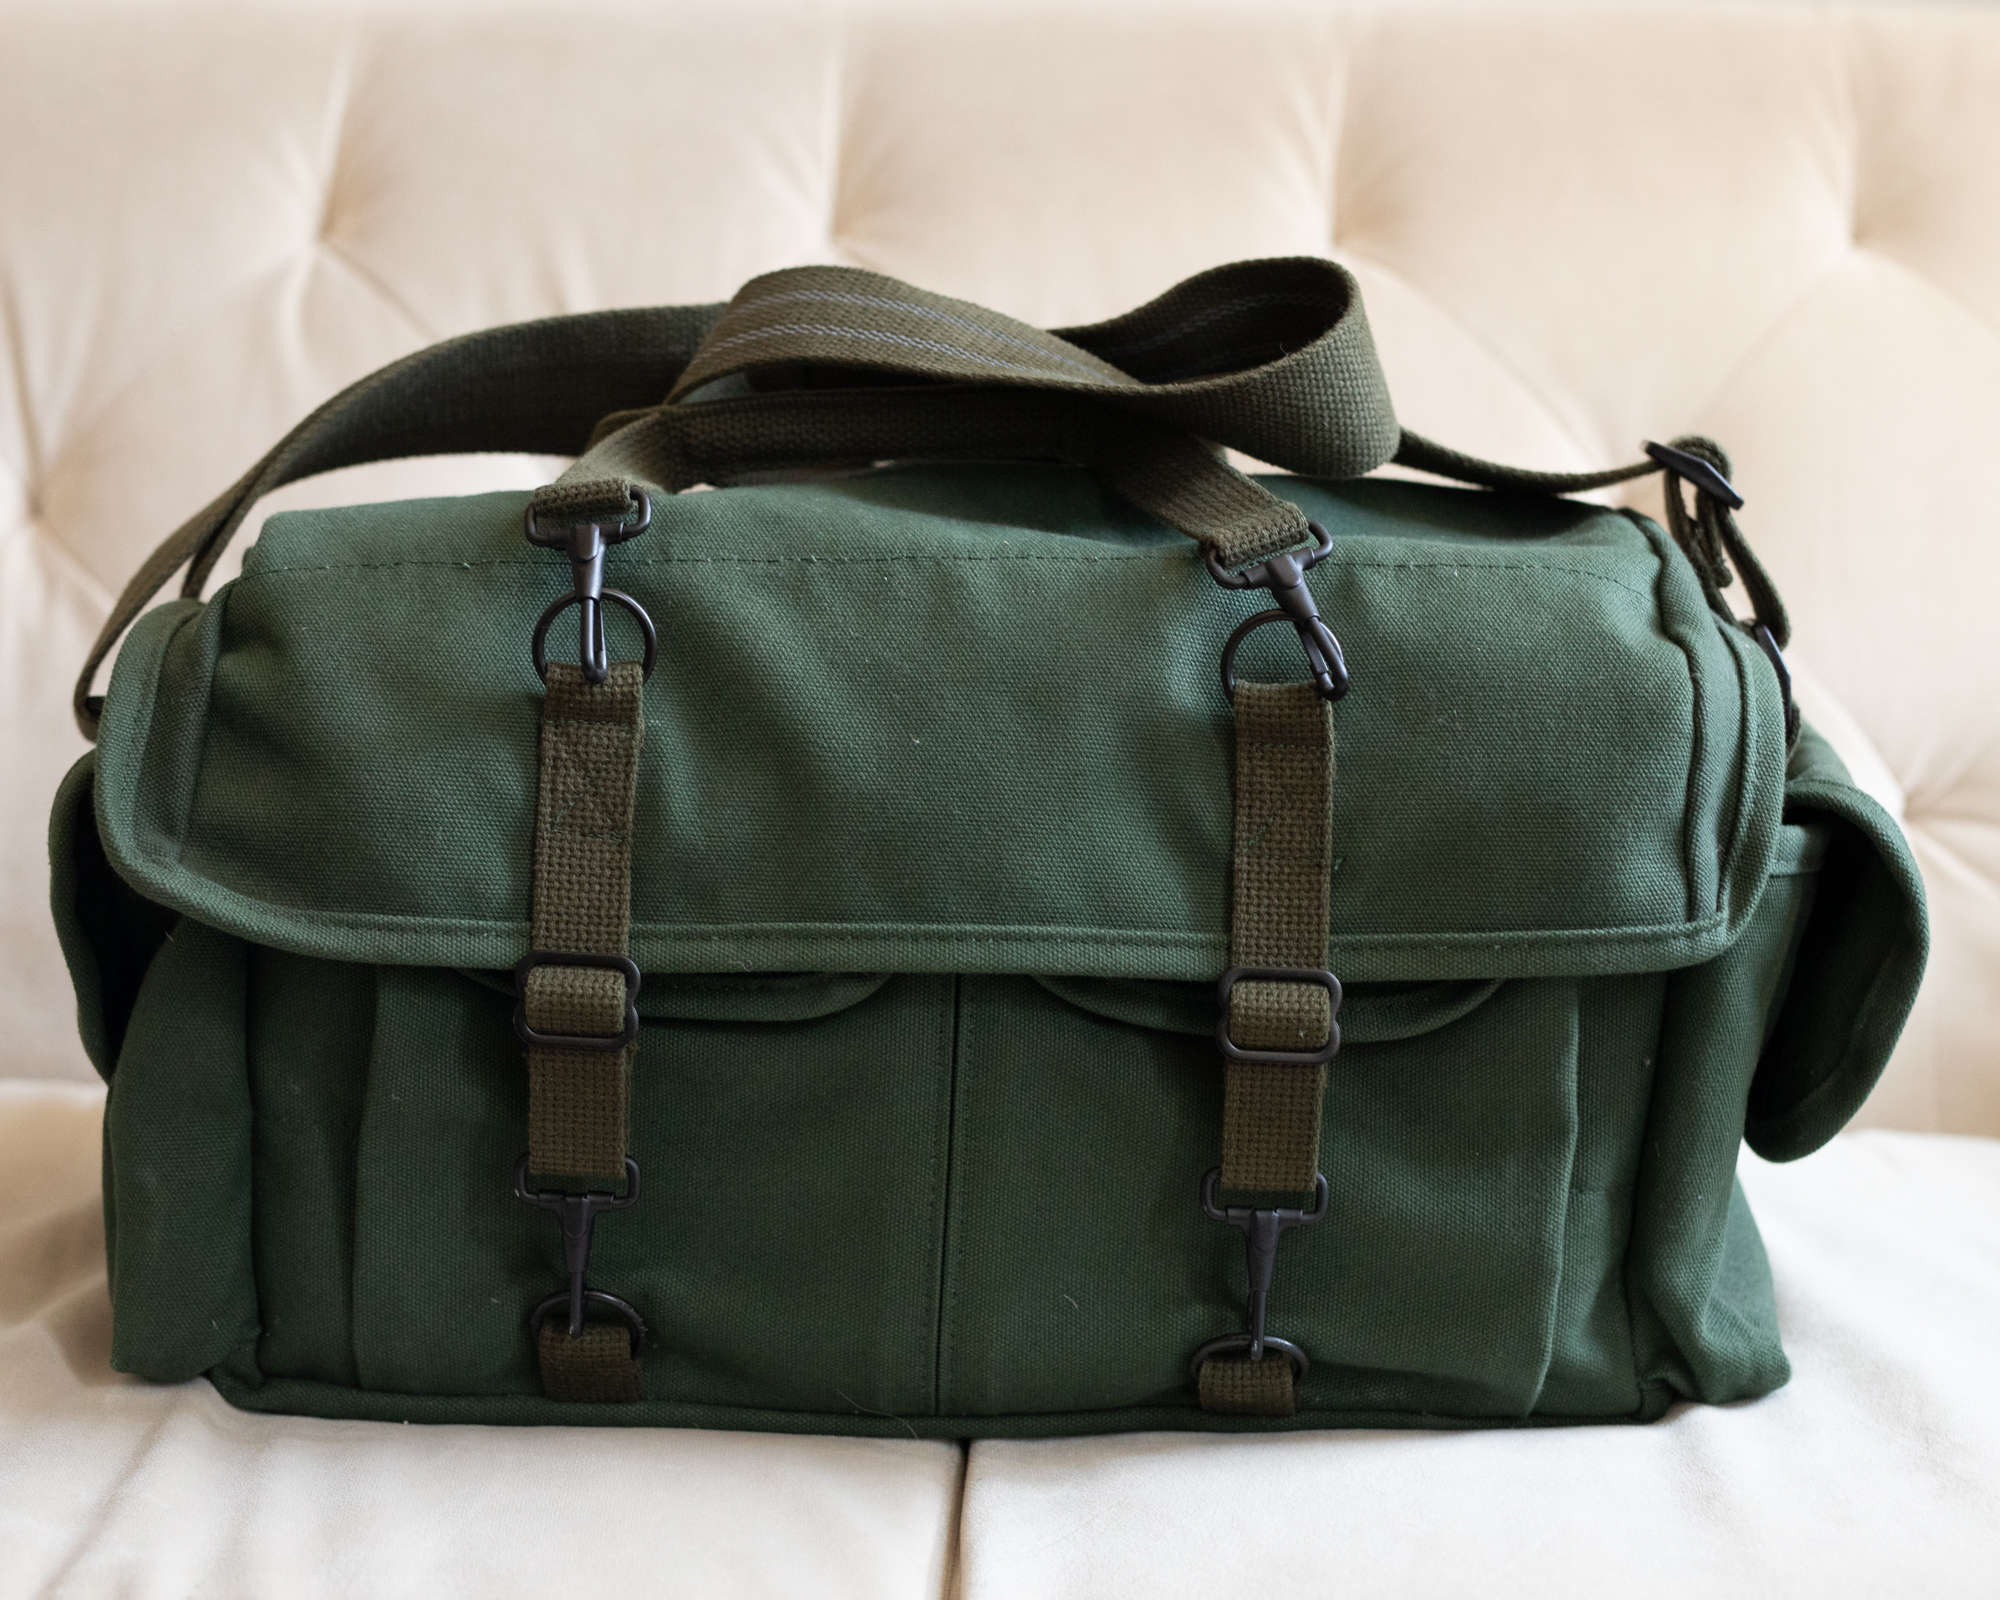
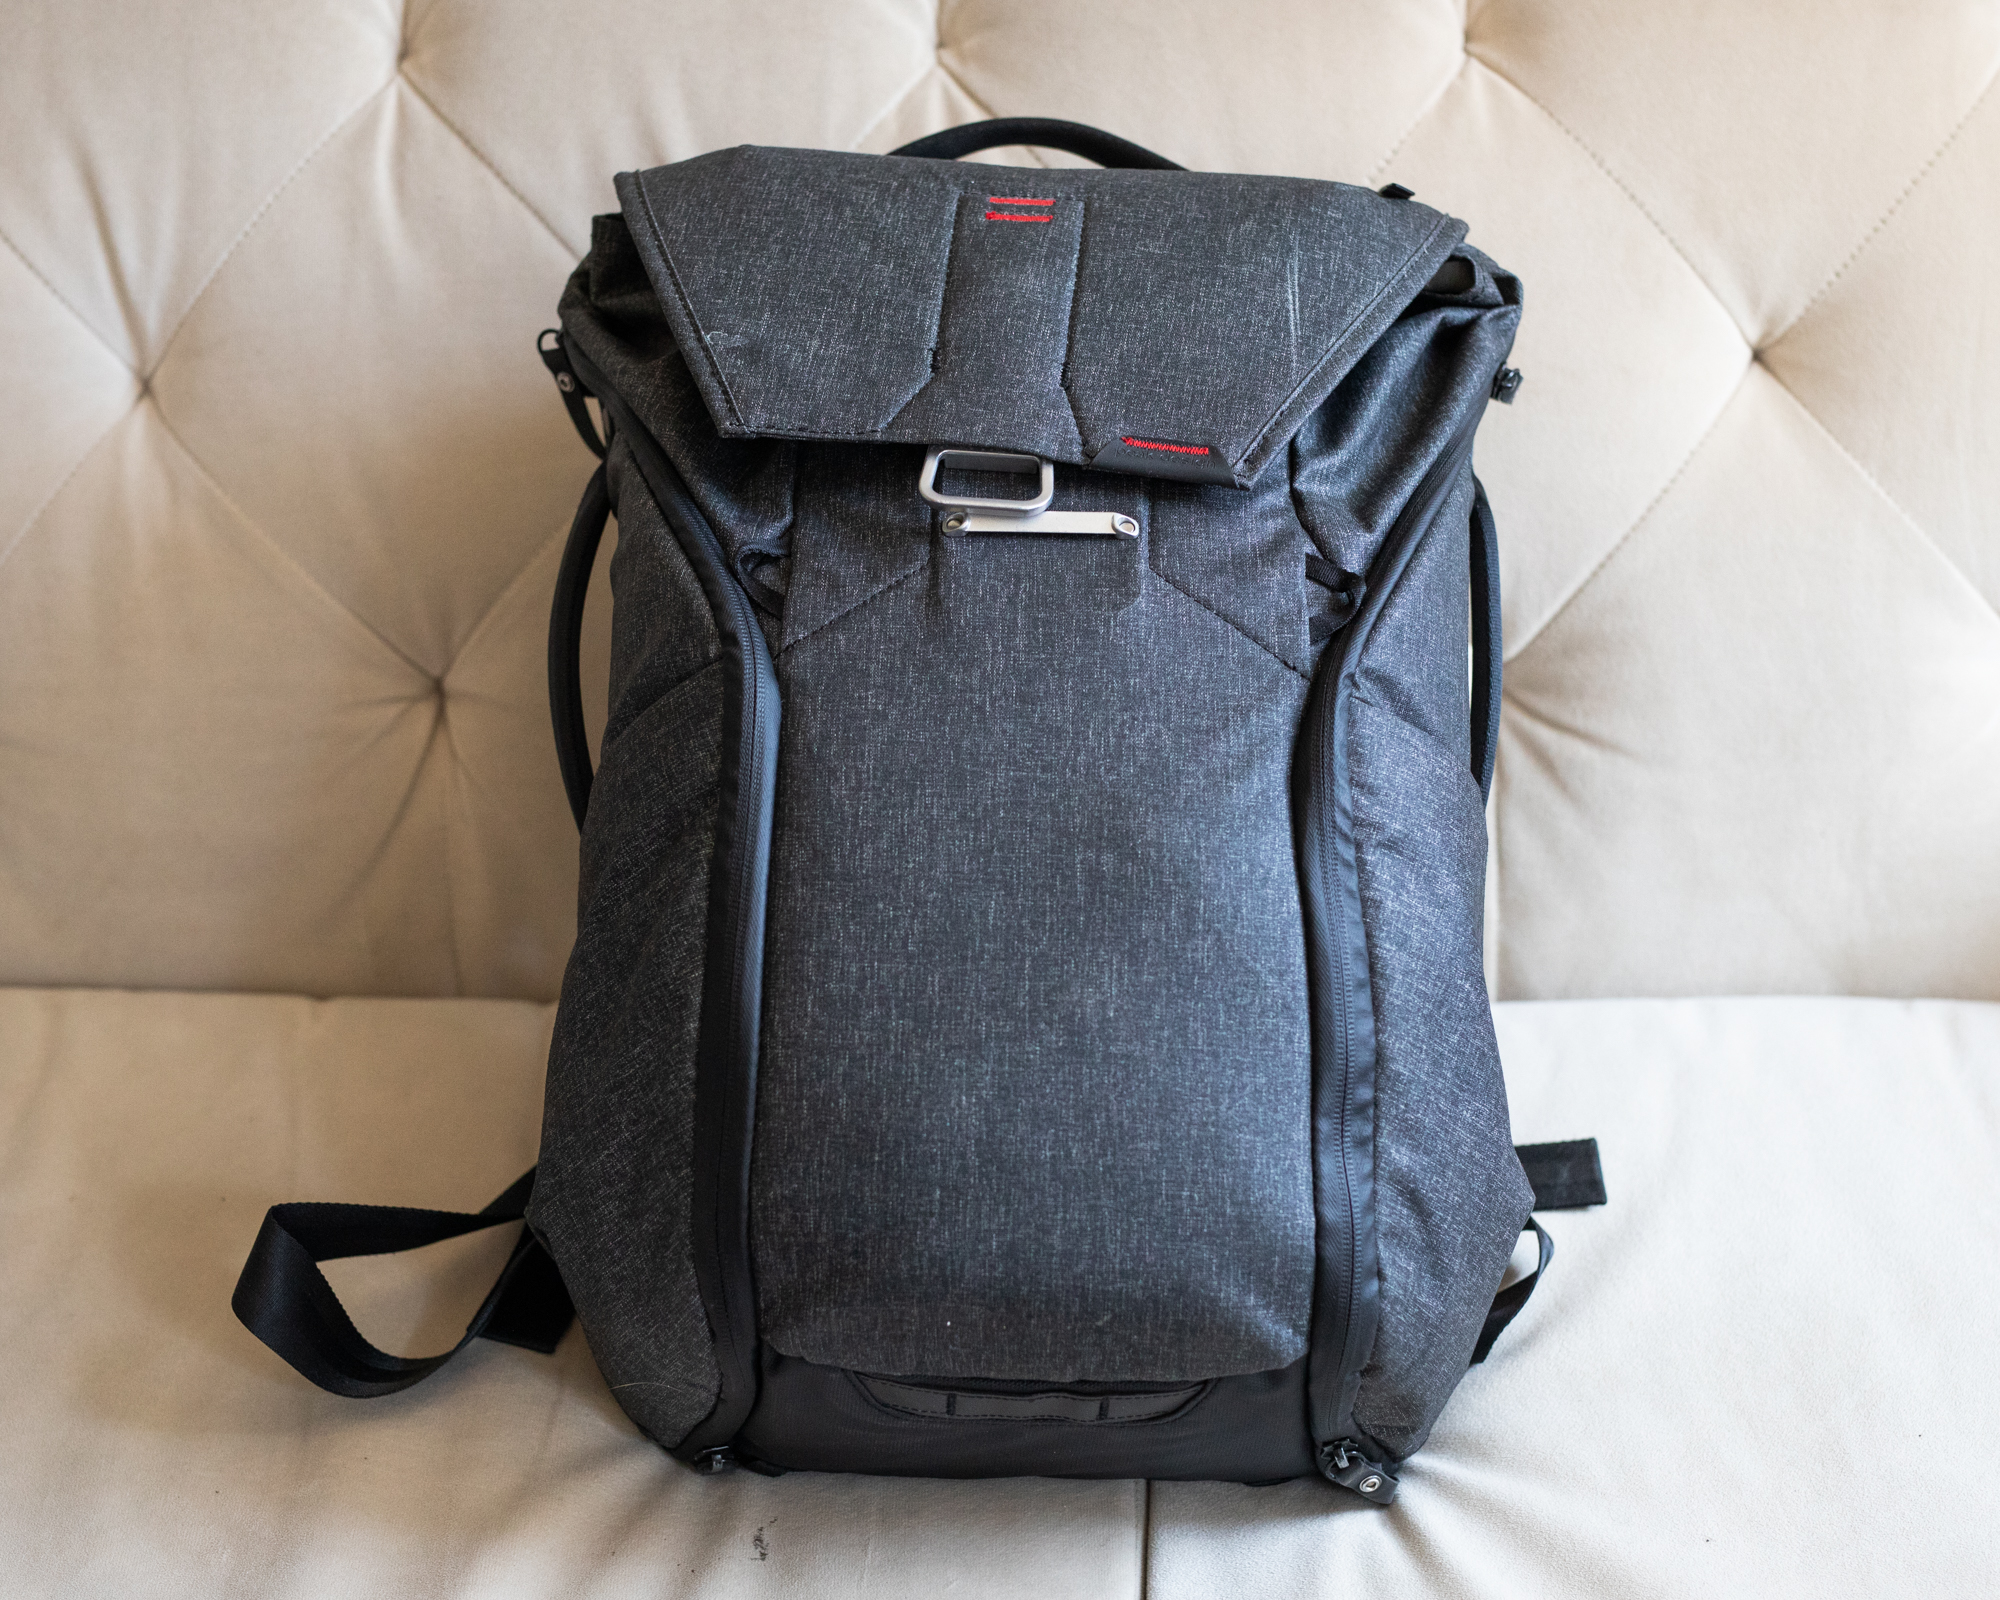
You also need a camera bag to carry all this stuff. My main bag is a Domke F-1X Shoulder Bag. This bag is basically a bigger version of the Domke F-2 bag. Domke makes great, tough bags and this one fits all my stuff. Shoulder bags are not ideal for carrying a heavy load for a long period of time. But what I have found is that once you set-up your camera and tripod, you kind of just carry it your camera that way, unless you have to go somewhere far. So for those occasions when you need to walk a little bit, you probably need a backpack. I have and used the Peak Design Everyday Backpack. This bag is great but not perfect. I haven’t had the need to use this bag yet with my camera but I am confident I can carry all of my equipment with it.
Tripod
These cameras were made to be shot on a tripod. While you can hand hold this camera, it doesn’t seem like that would be a fun experience. This camera weights a little less than six pounds and that’s without a lens and your film holder. You setup your camera on the tripod. A sturdy tripod is recommended but a very sturdy tripod is also heavier. I am currently using a Manfrotto 190XBD. I have had this tripod for several years. This is probably the bear minimum as far as sturdiness is concerned. I end up shooting with a smaller aperture, so my exposure becomes a lot longer than what I usually shoot on my hand held cameras. While I would recommend a better tripod, if you have this one, it’s good enough. If I know I am walking a bit with all my gear, this might be the tripod I use. It just depends on the situation.
I plan on getting a Manfrotto MT055XPRO3-3W Aluminum Tripod. It’s substantially better built and more importantly, it’s sturdier. Weight wise it is heavier but not by as much as I thought.
Lens Bag
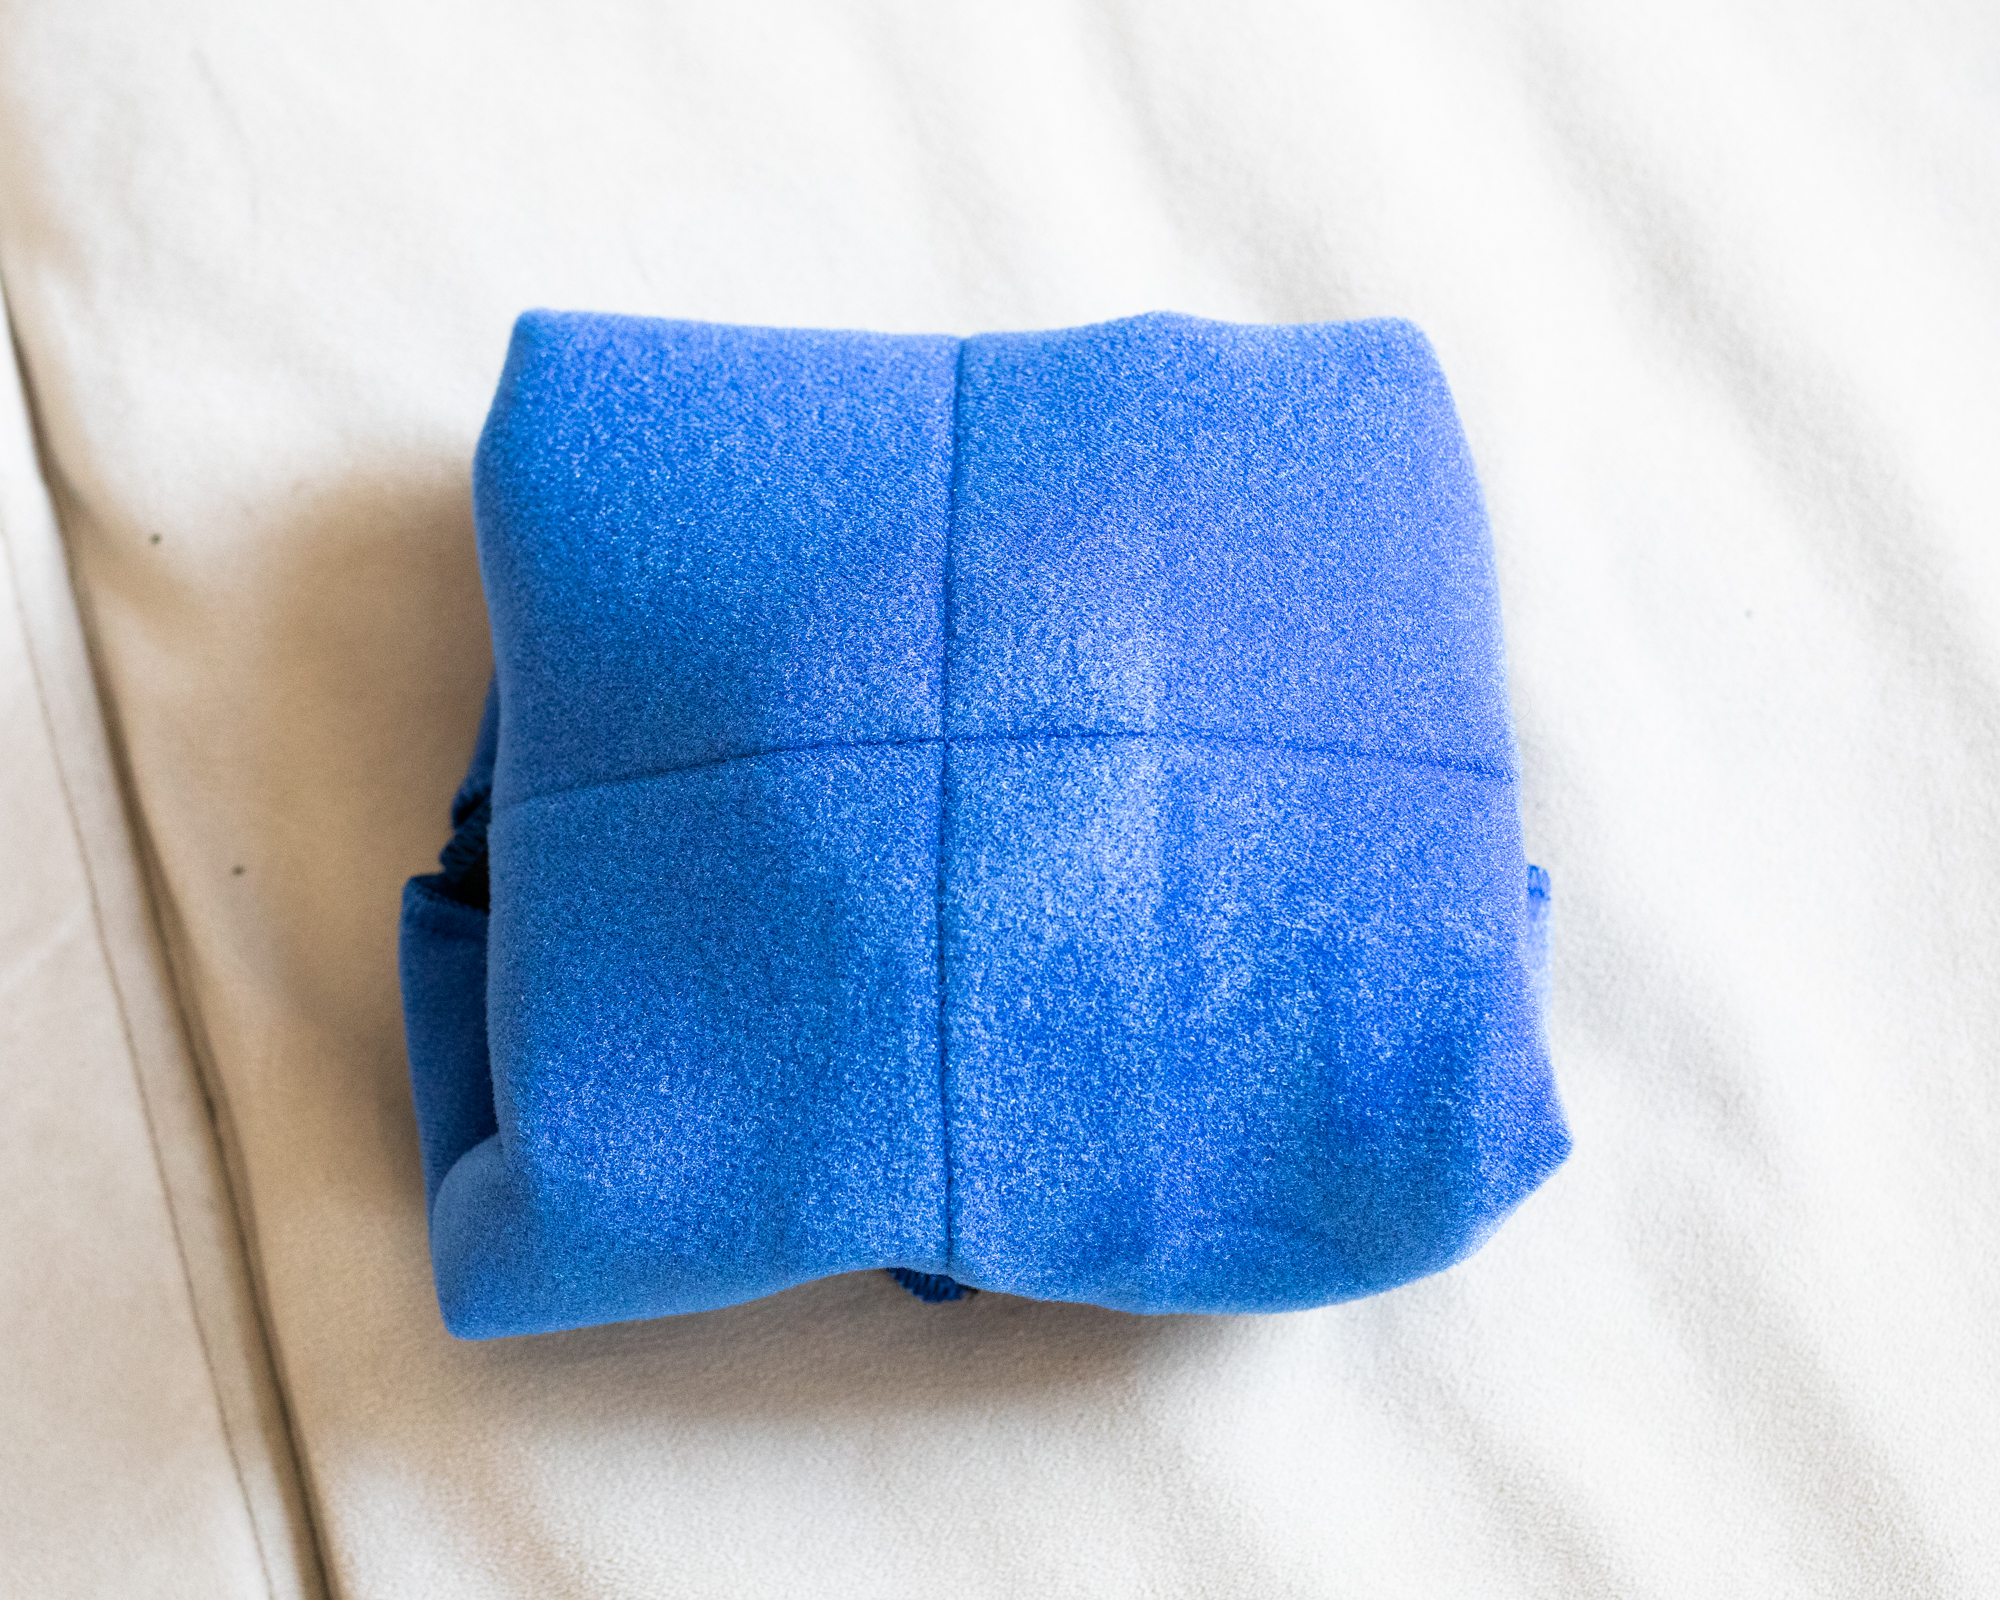
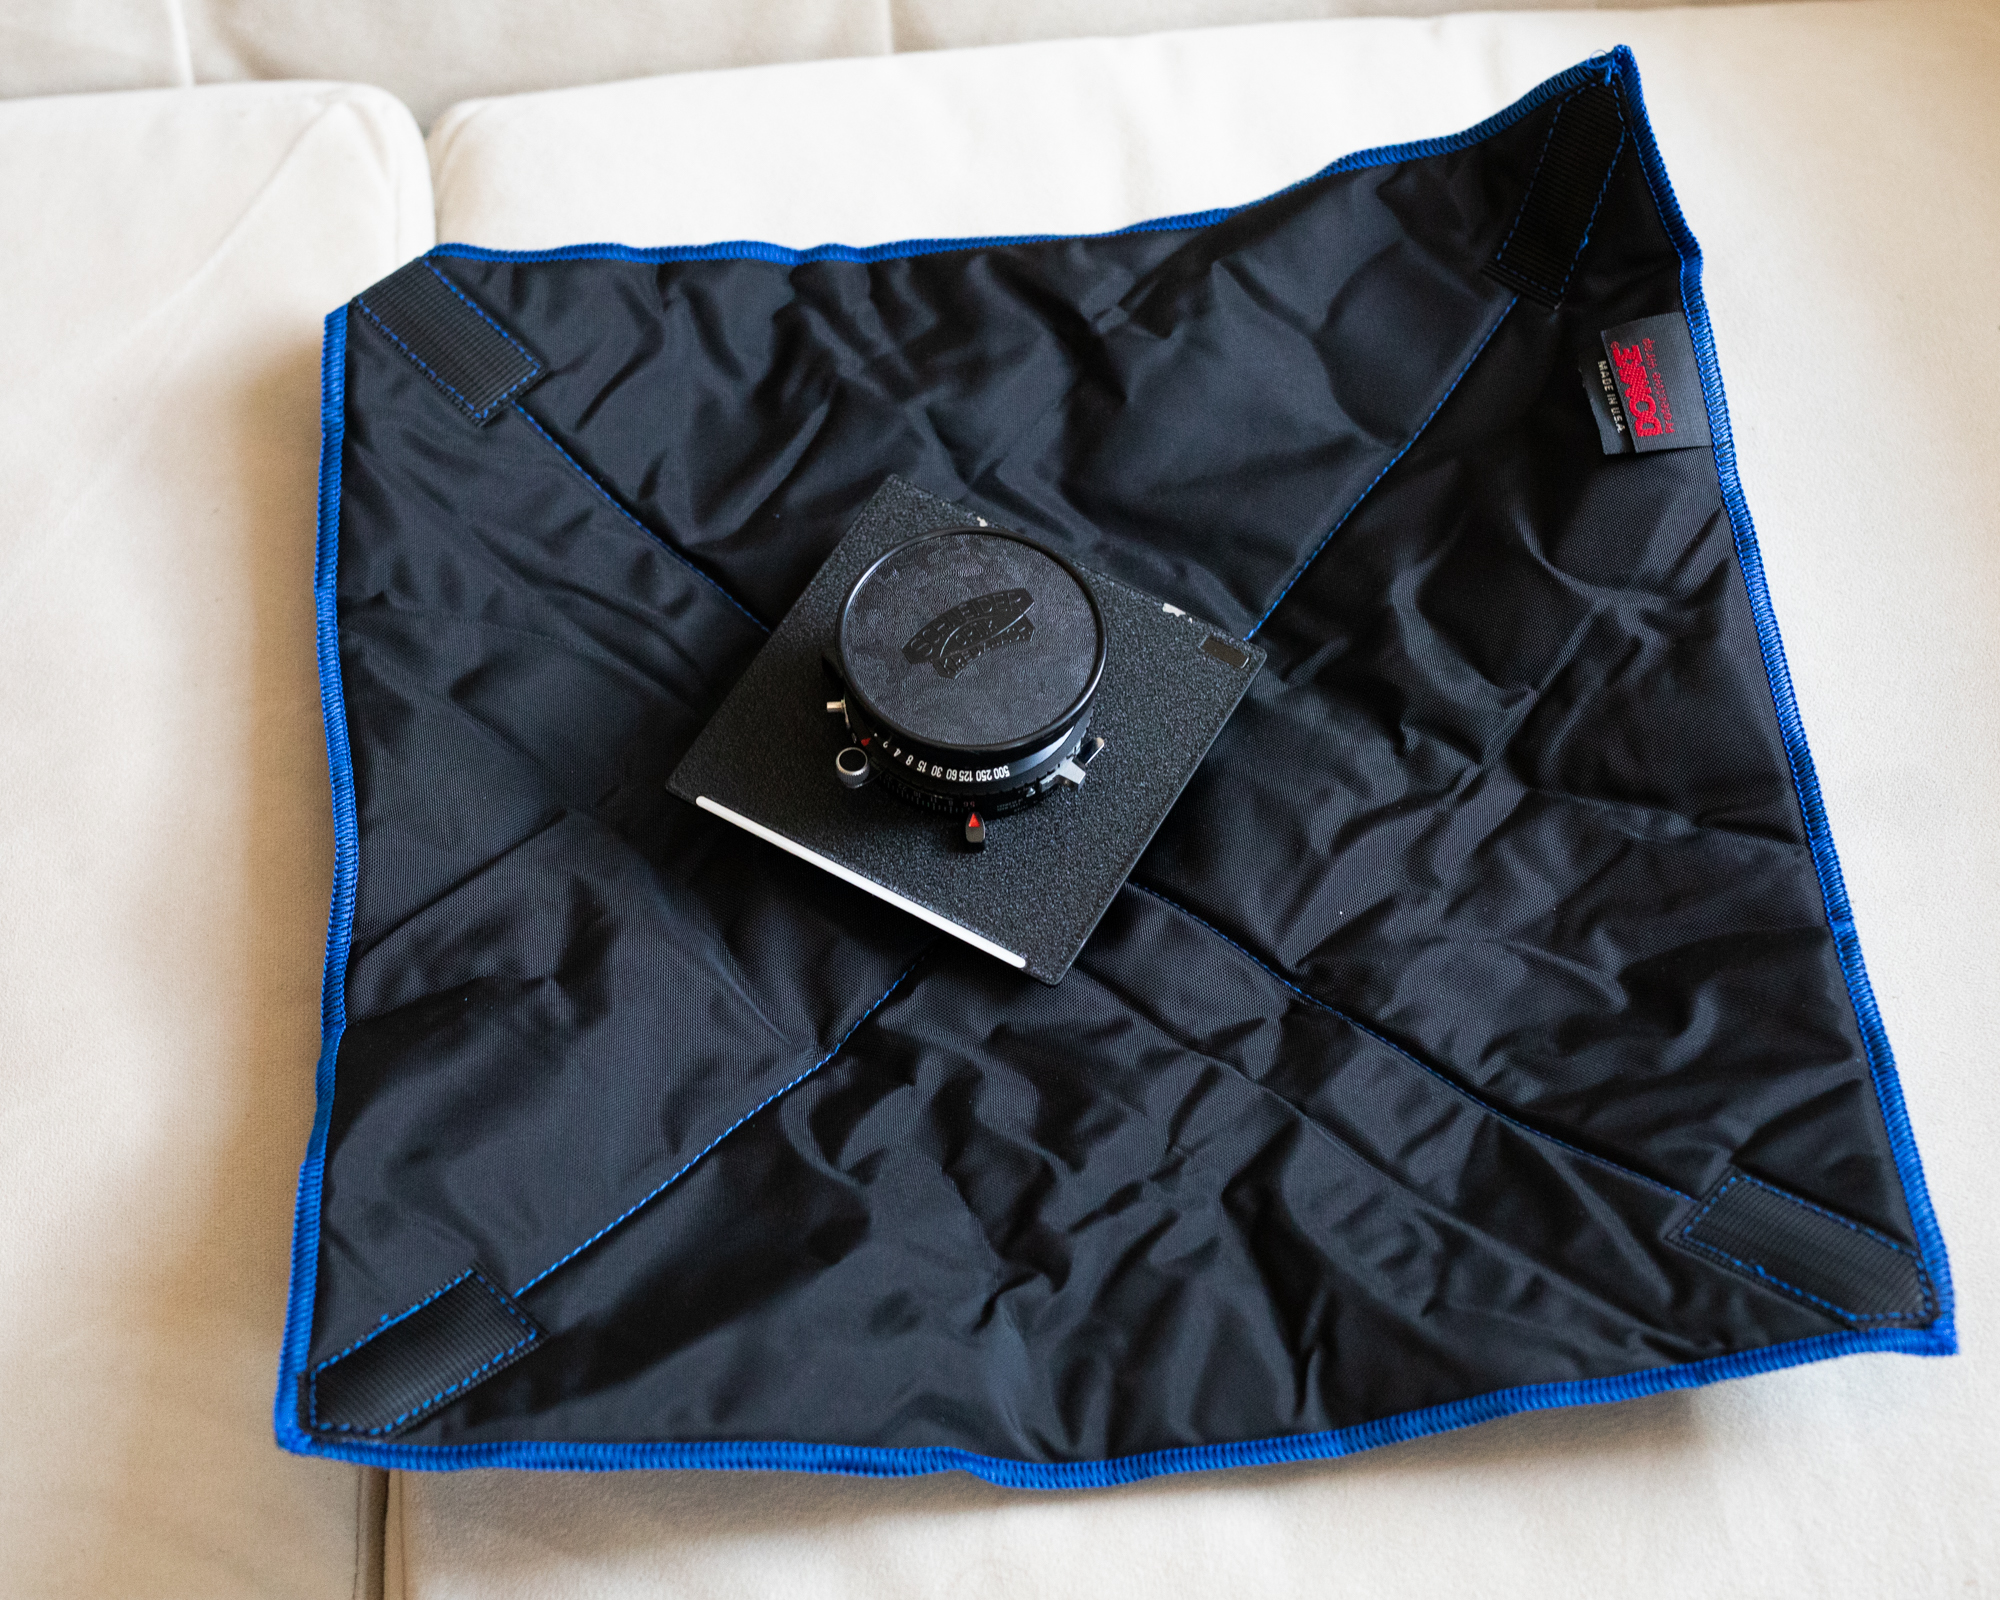
I am using the Domke 15x15 Color Coded Protective Bag. These are awesome! Your lens with the lens board won’t fit in a regular lens bag unless it’s much bigger than the board and as I said, portability is important and space is of the essence. This doesn't leave footprint much bigger than whatever is inside it.
Film, Film Holders, Film Holder Bag
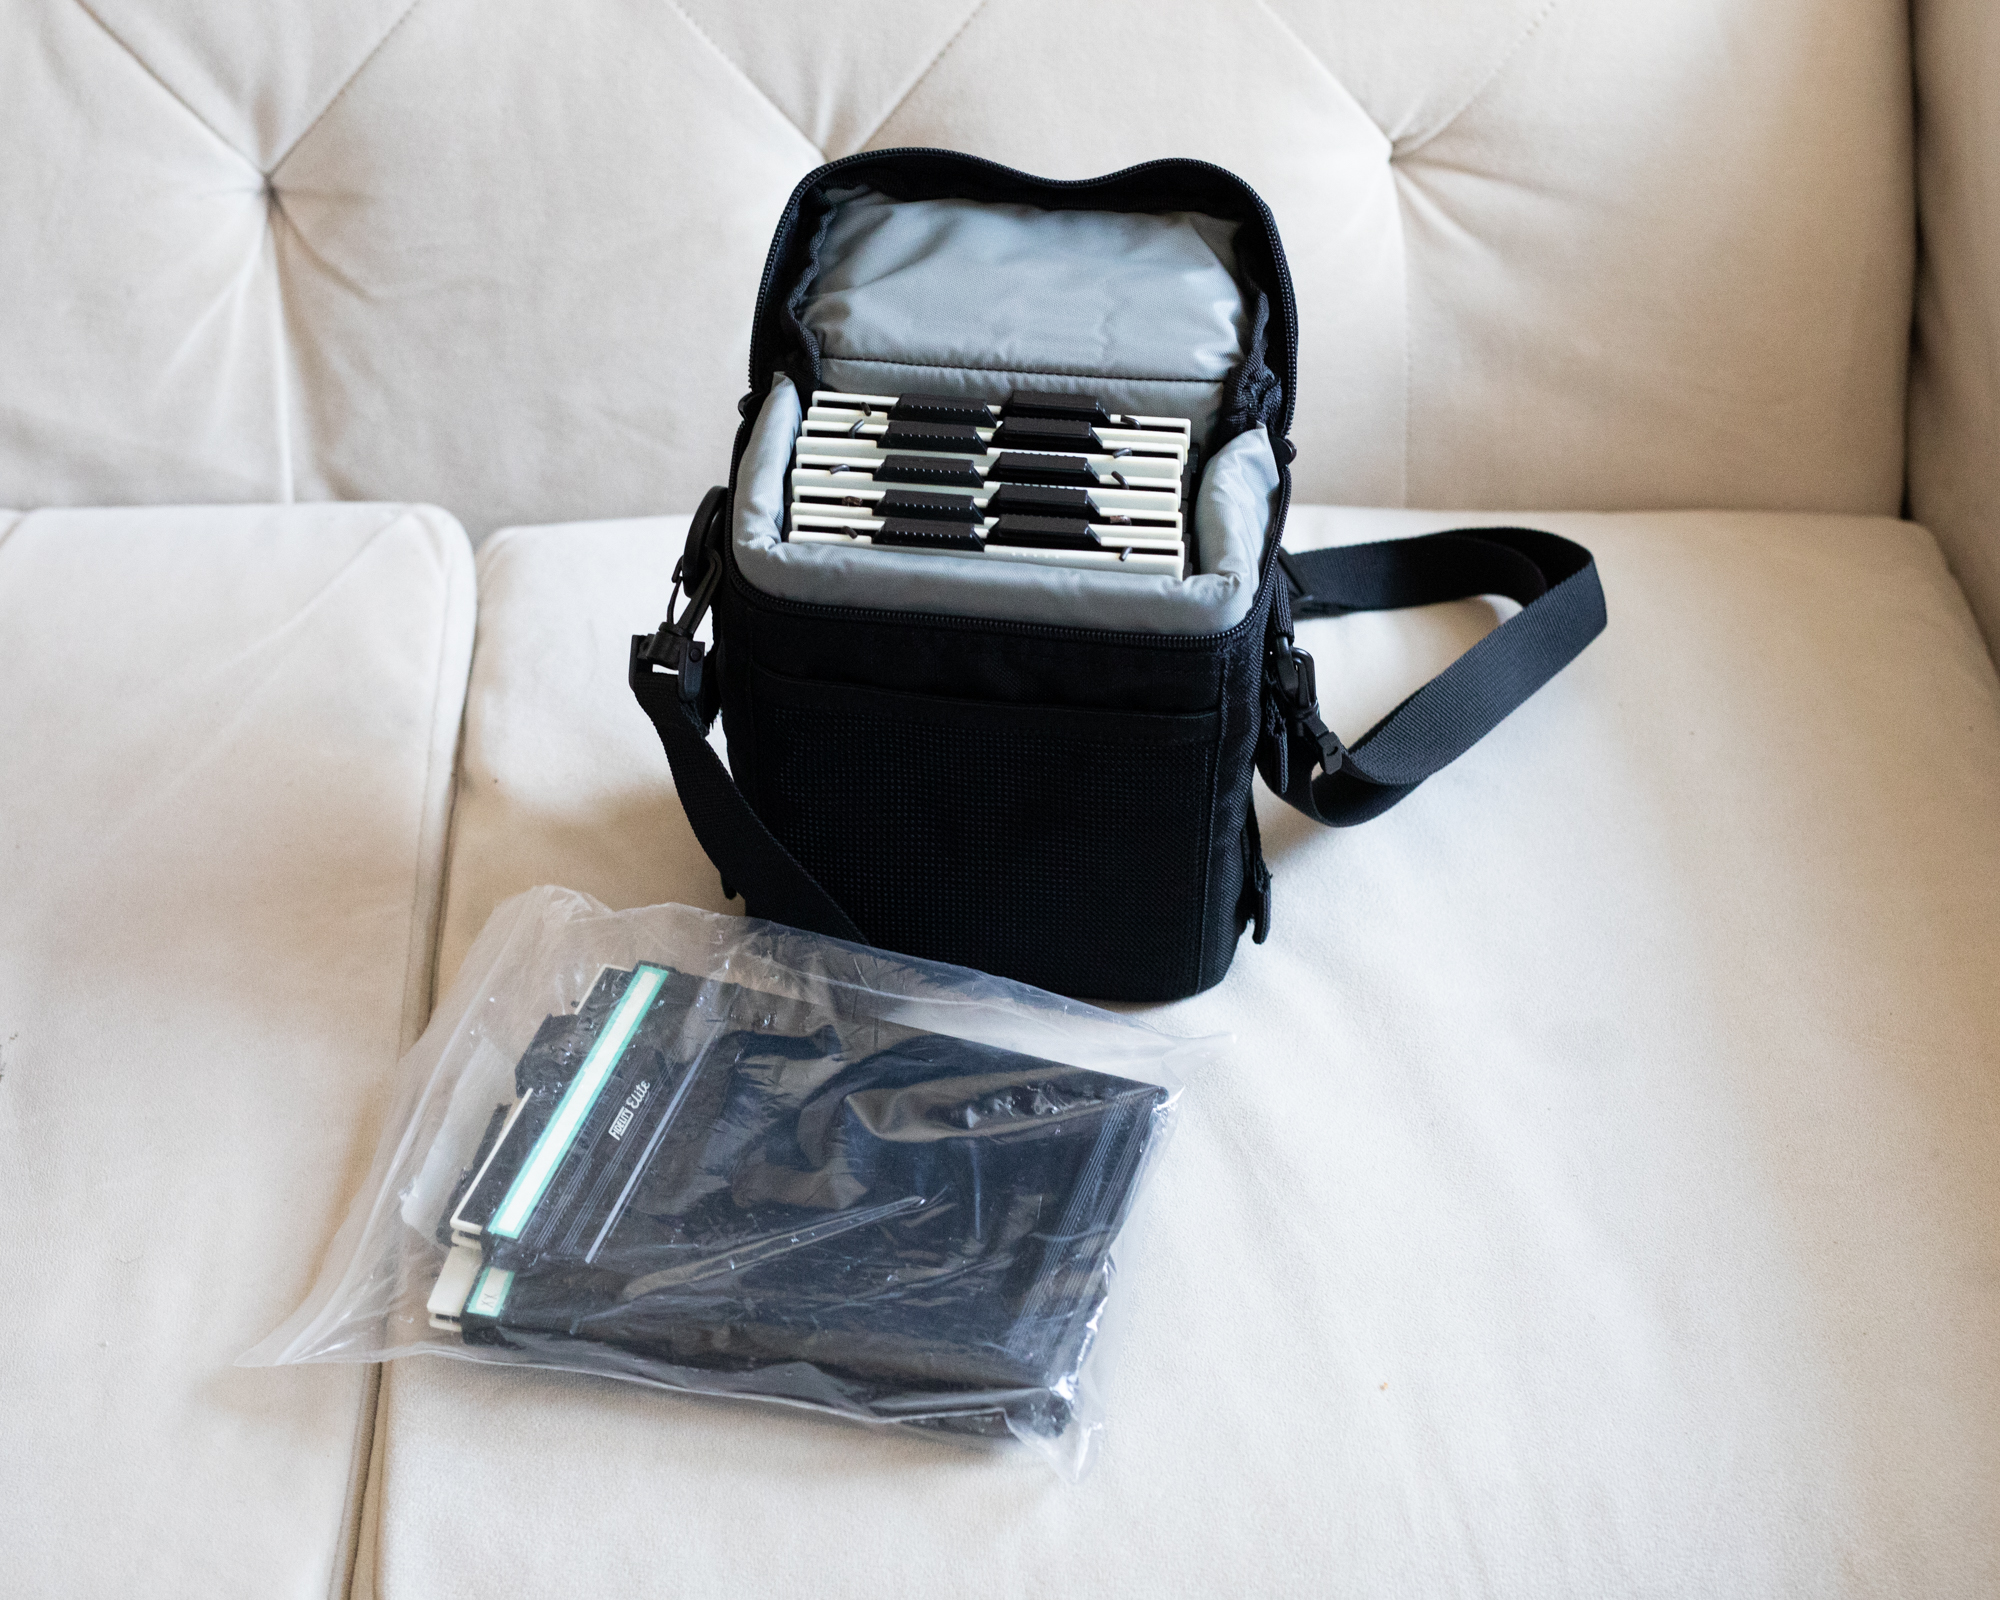
You need film holders to hold your film and you can’t shoot without film. These are your standard Fidelity 4x5 Sheet Film Holders. They are expensive new so get them used. I also use a F.64 FH4x5 bag (it can hold 5 film holders) and a ziplock bag to hold my other film holders. I have a total of 8 film holders so that is 16 exposures I can make without having to reload. While the film holder bag is not required, it helps me keep organized which is important because you don’t want to make a mistake with your film holders.
Focusing Loupe
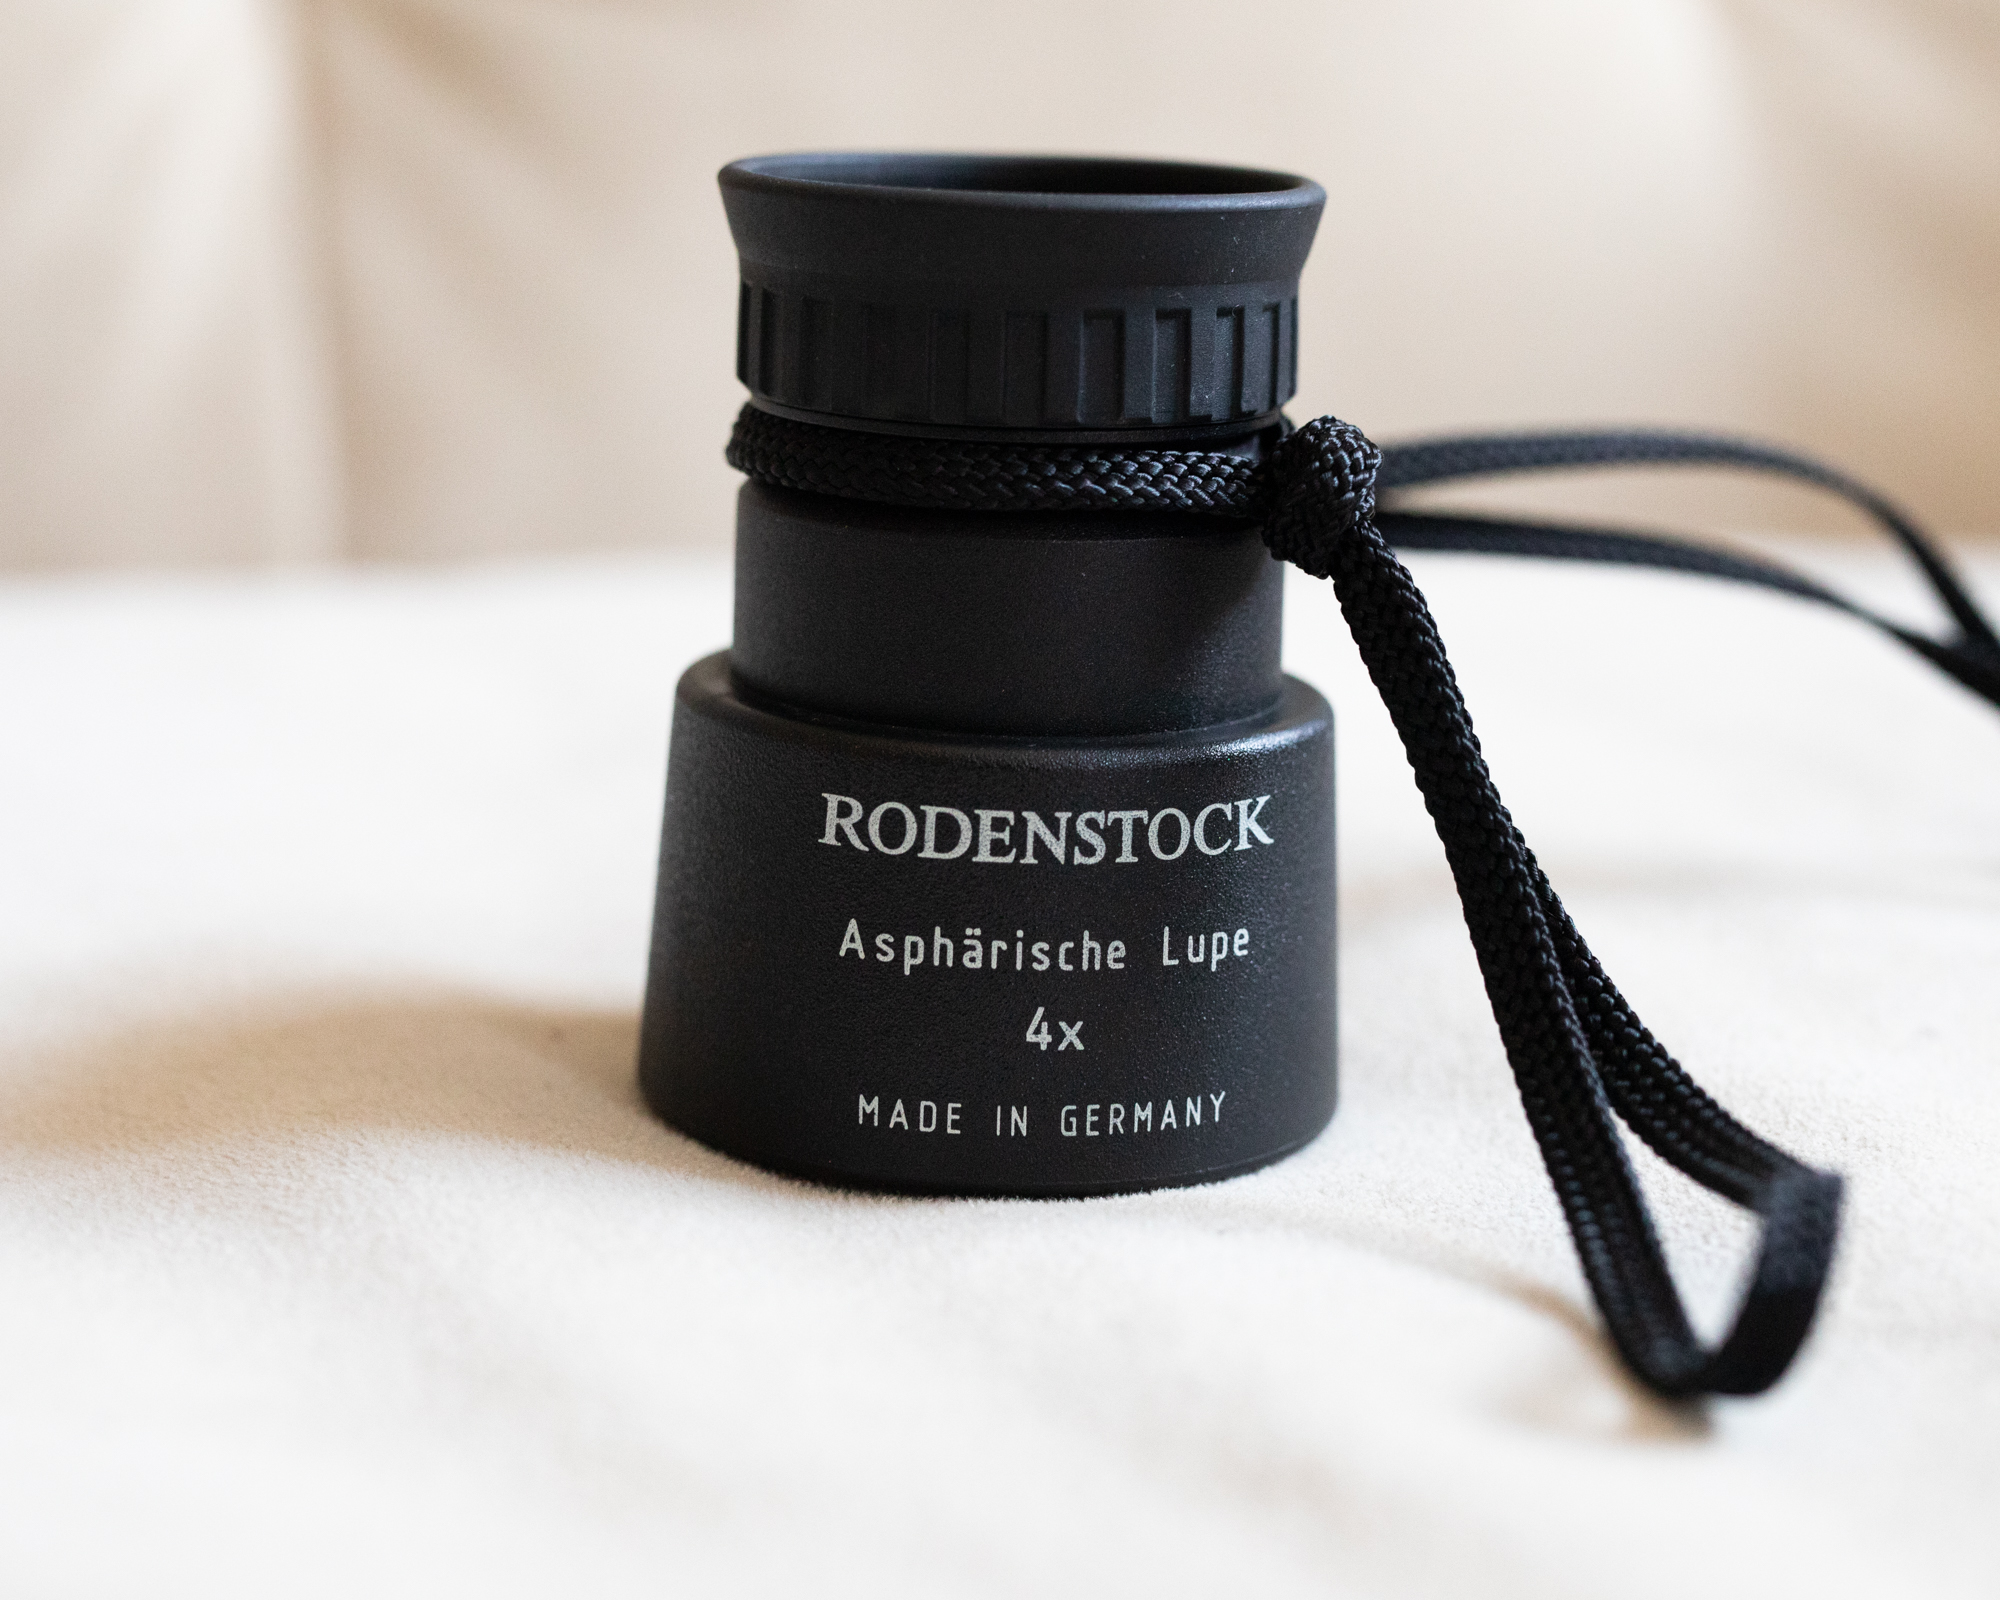
I don’t see how it’s possible to get your focus spot on so this is a must. There are some cheap loupes and there are ones that are very expensive. I decided to get something used from a reputable brand. I have a Rodenstock loupe, it has a 4x magnification which I have read from other sites is all you need.
Light Meter
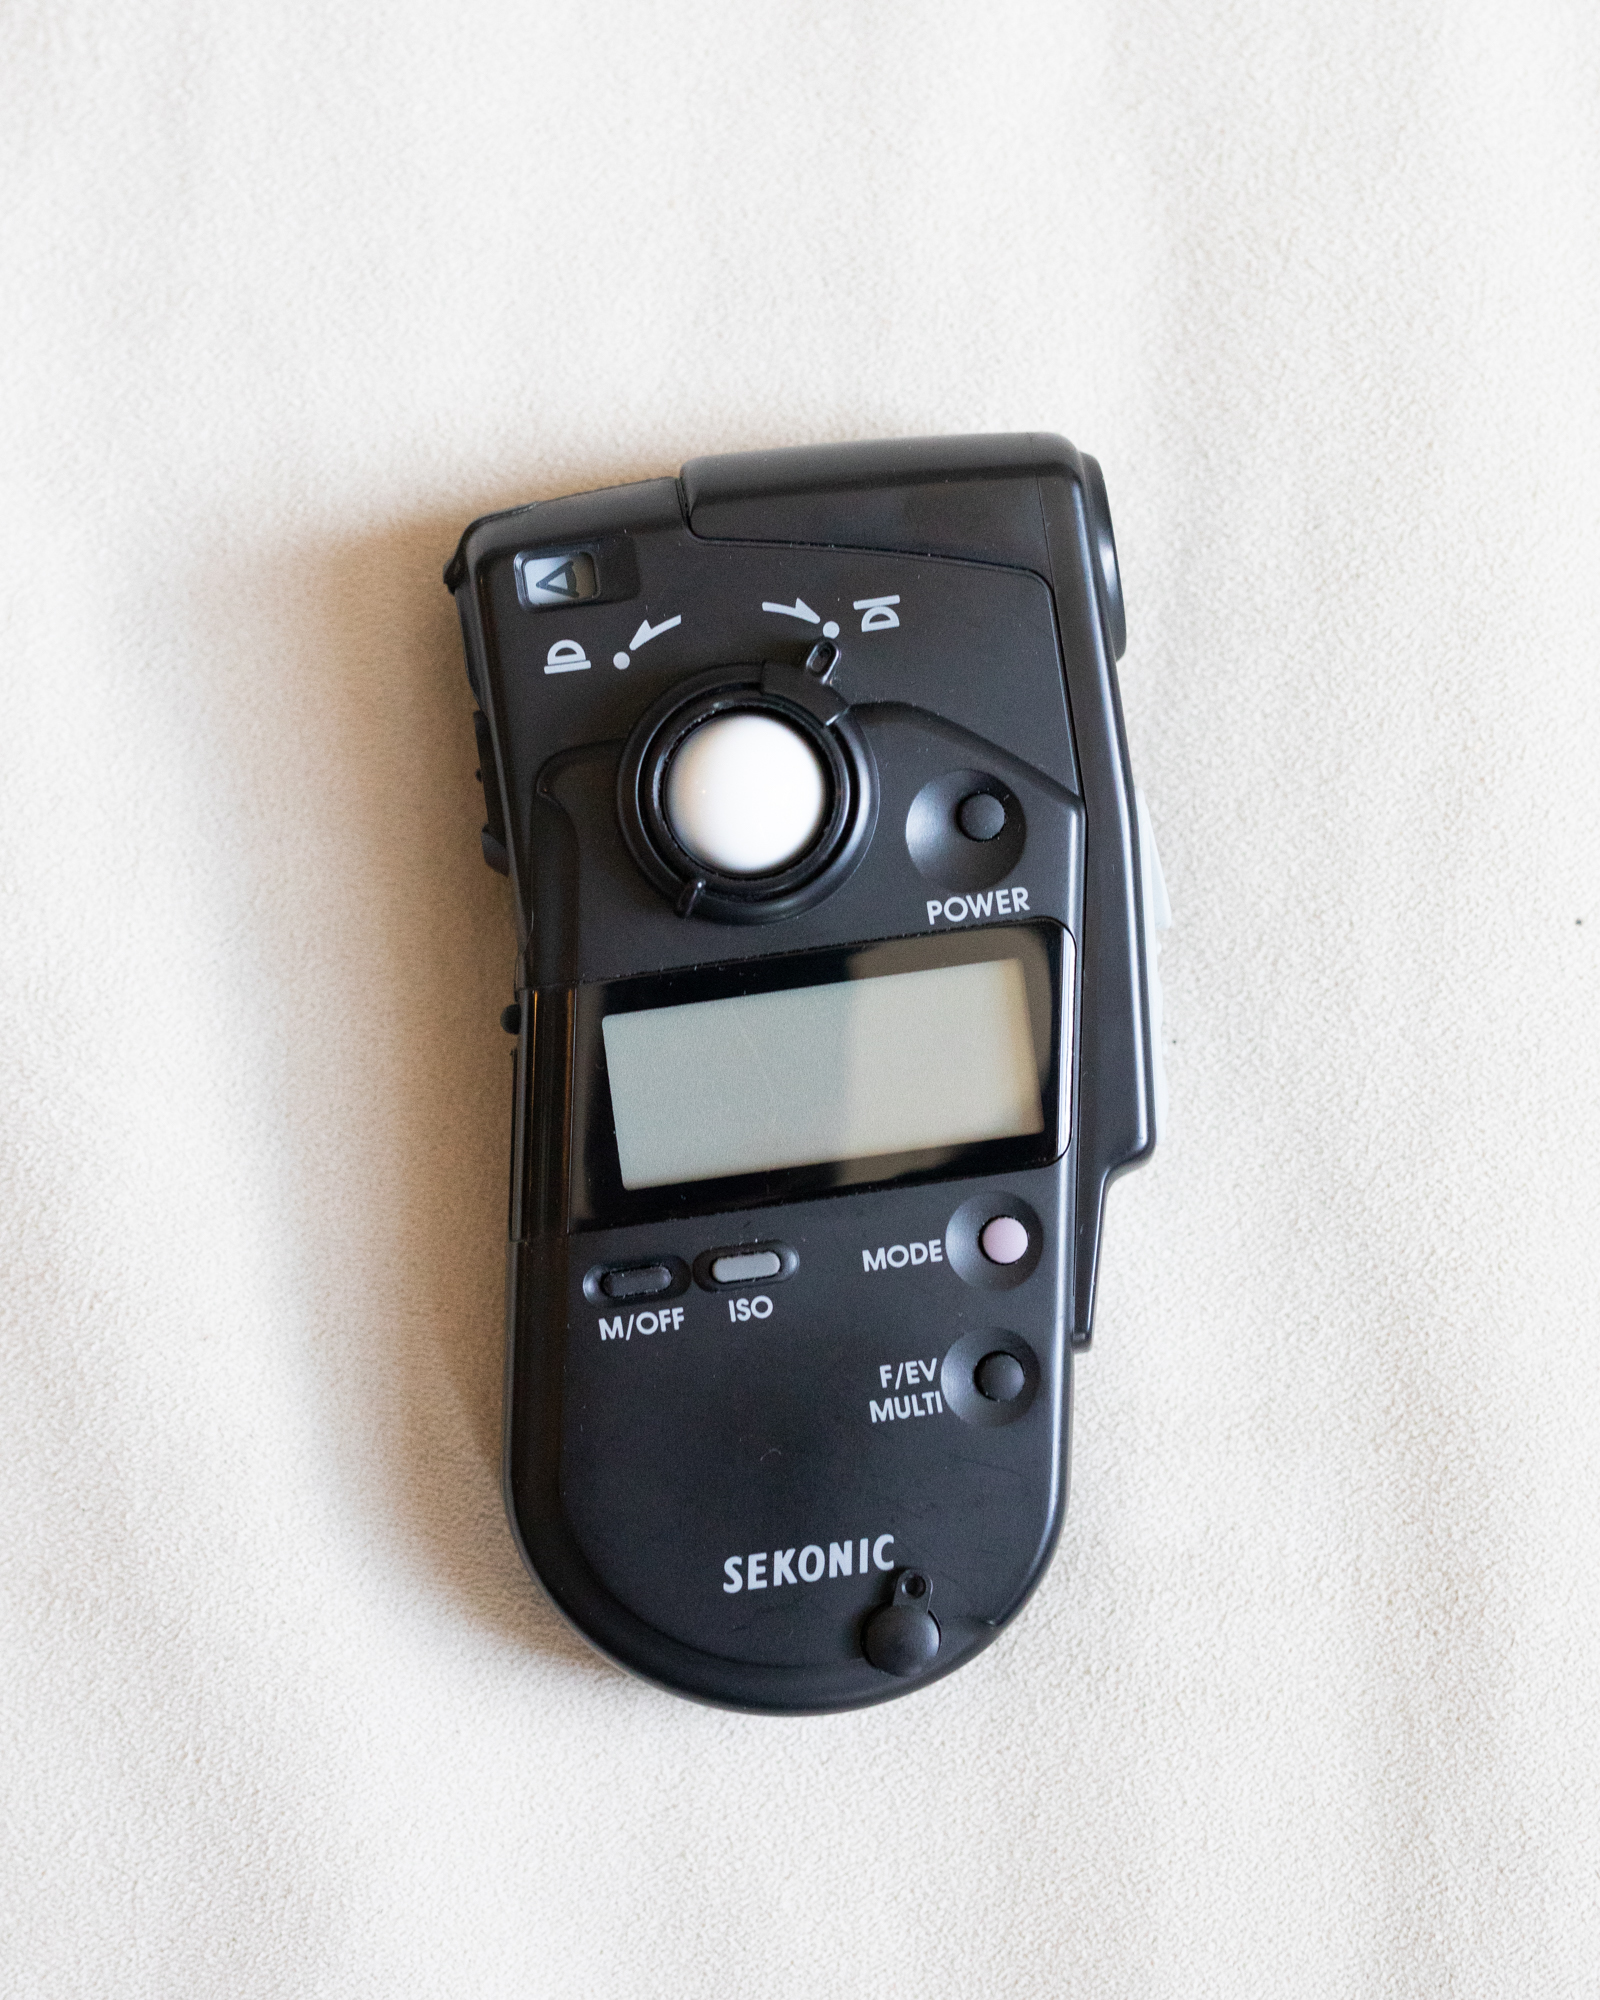
I am using a Sekonic L-408 light meter. I wouldn’t recommend this light meter. It is an ambient, flash, and a spot meter. The ambient light meter works fine, I haven’t used it as a flash meter but the problem is the spot meter. Mine seems to be a little off (I need to figure out how to calibrate it) and the spot meter is a 5 degree radius. I think a spot meter is a little more helpful if it’s just 1 degree. But you need a light meter, I plan on selling this and upgrading.
Think Tank Bag and What’s in it
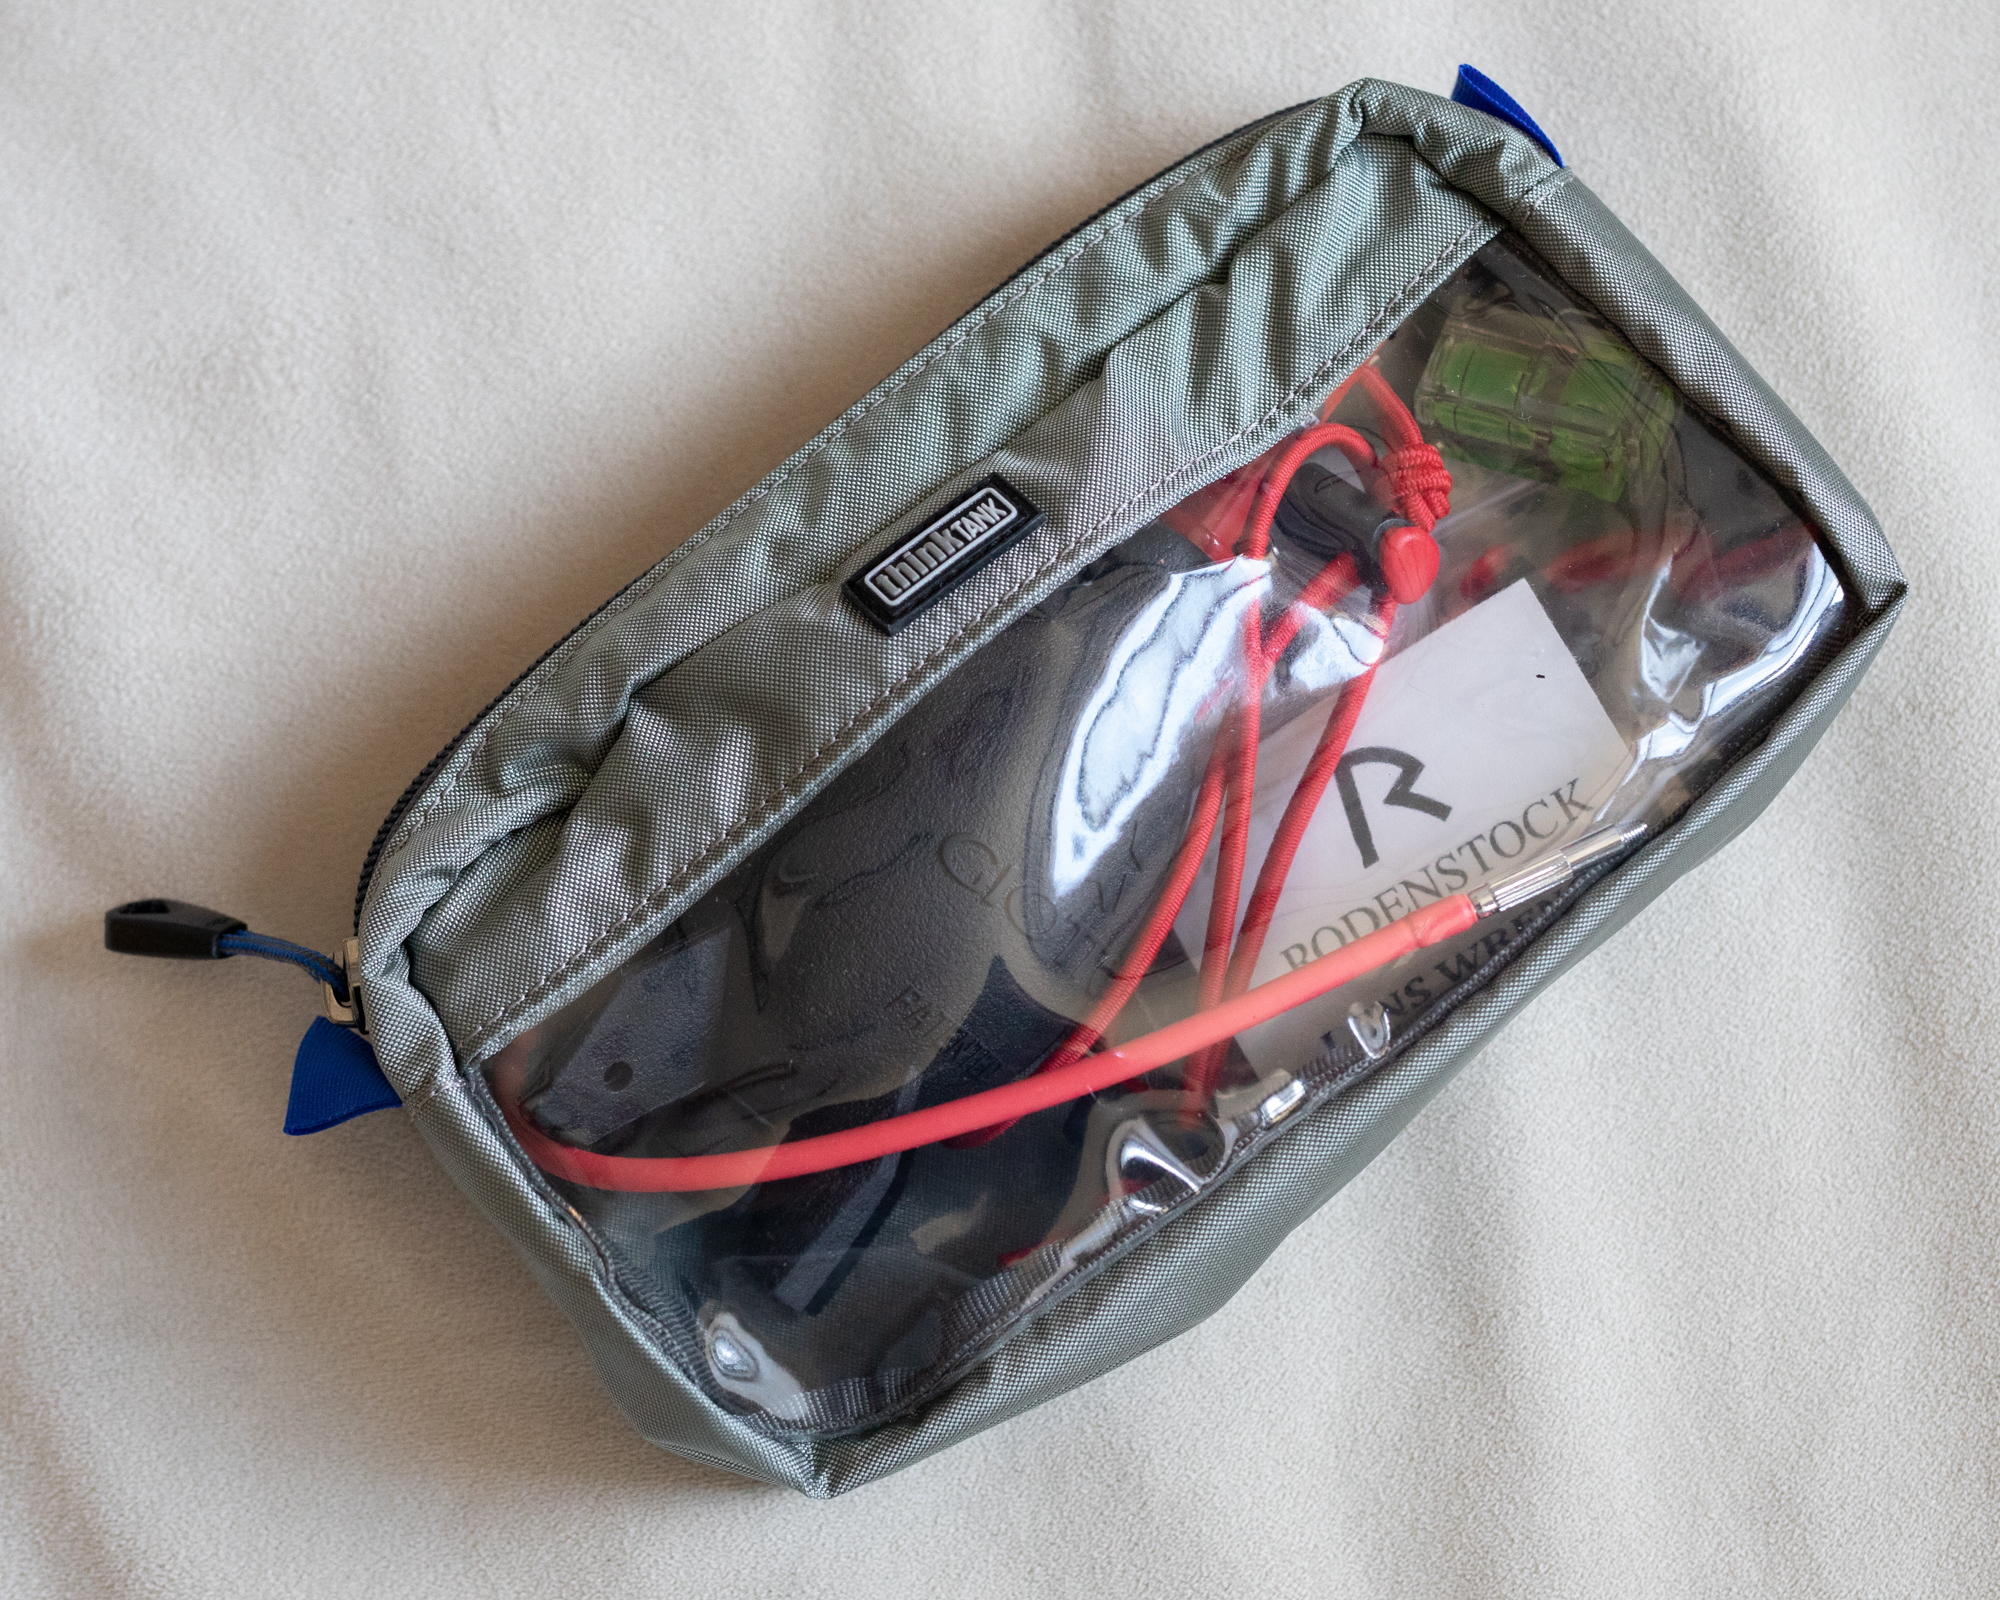
These bags are great for keeping your smaller items organized. I am using a Think Tank Photo Management Cable bag. They are robust and it has a see-through part so you know what’s inside, genius!
Items in this bag,
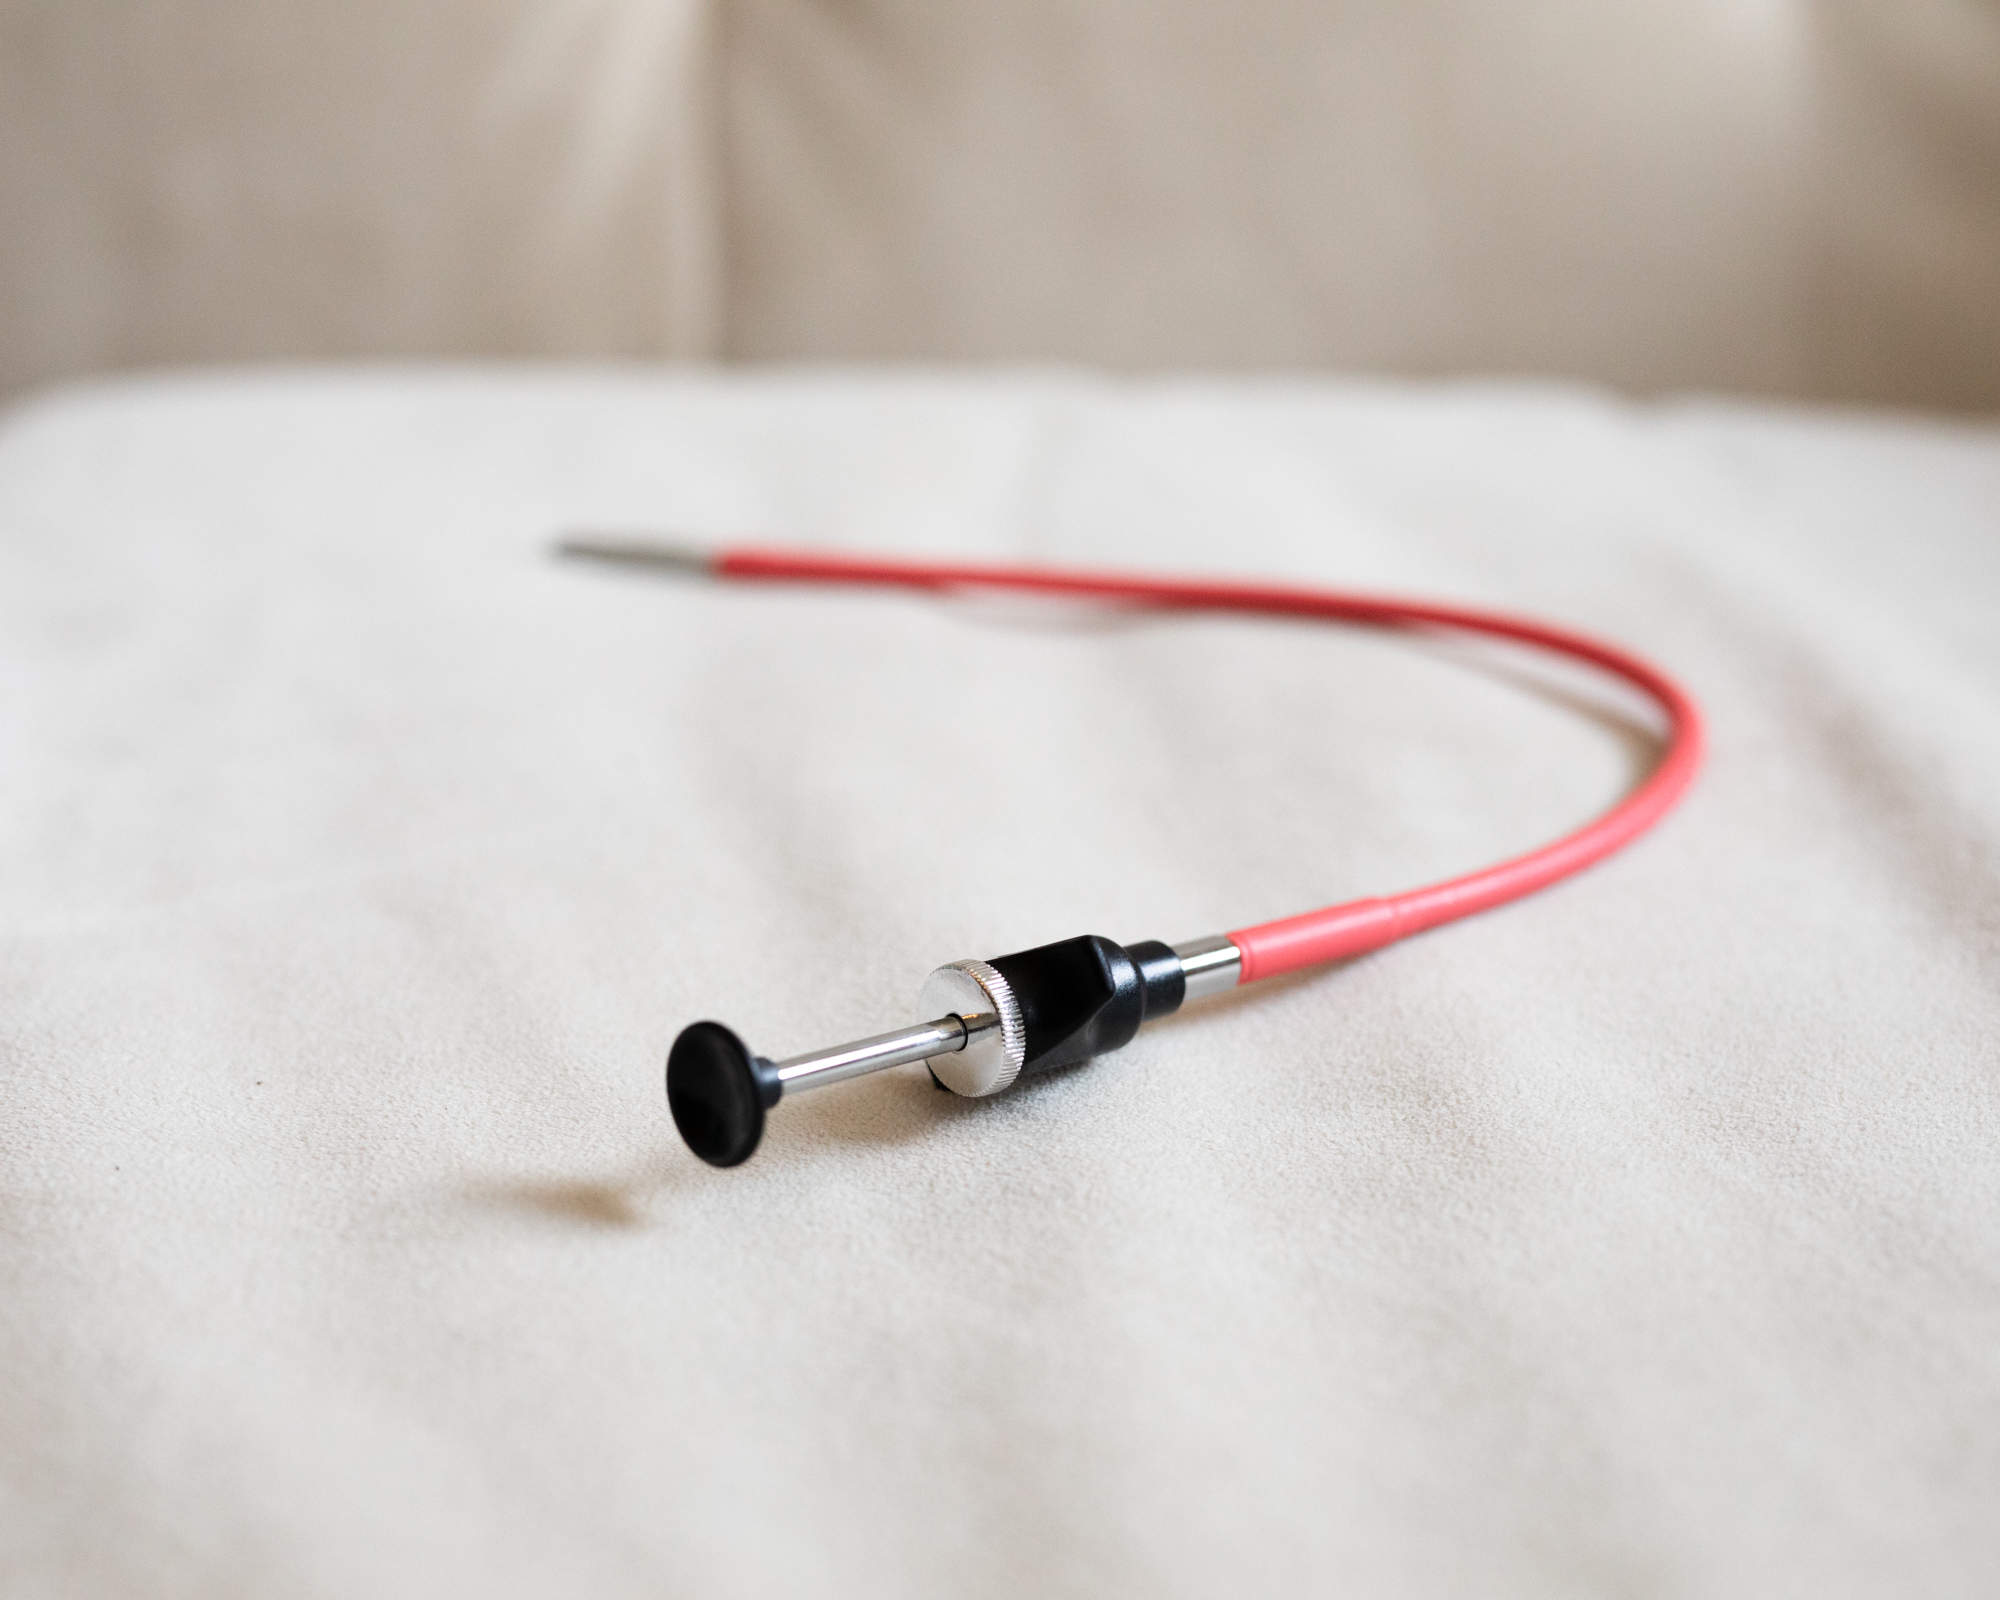
Cable Release - The shutter button is built into the lens. While you can manually depress it with your hand, it’s recommend to use a cable release to avoid any shake to your camera.
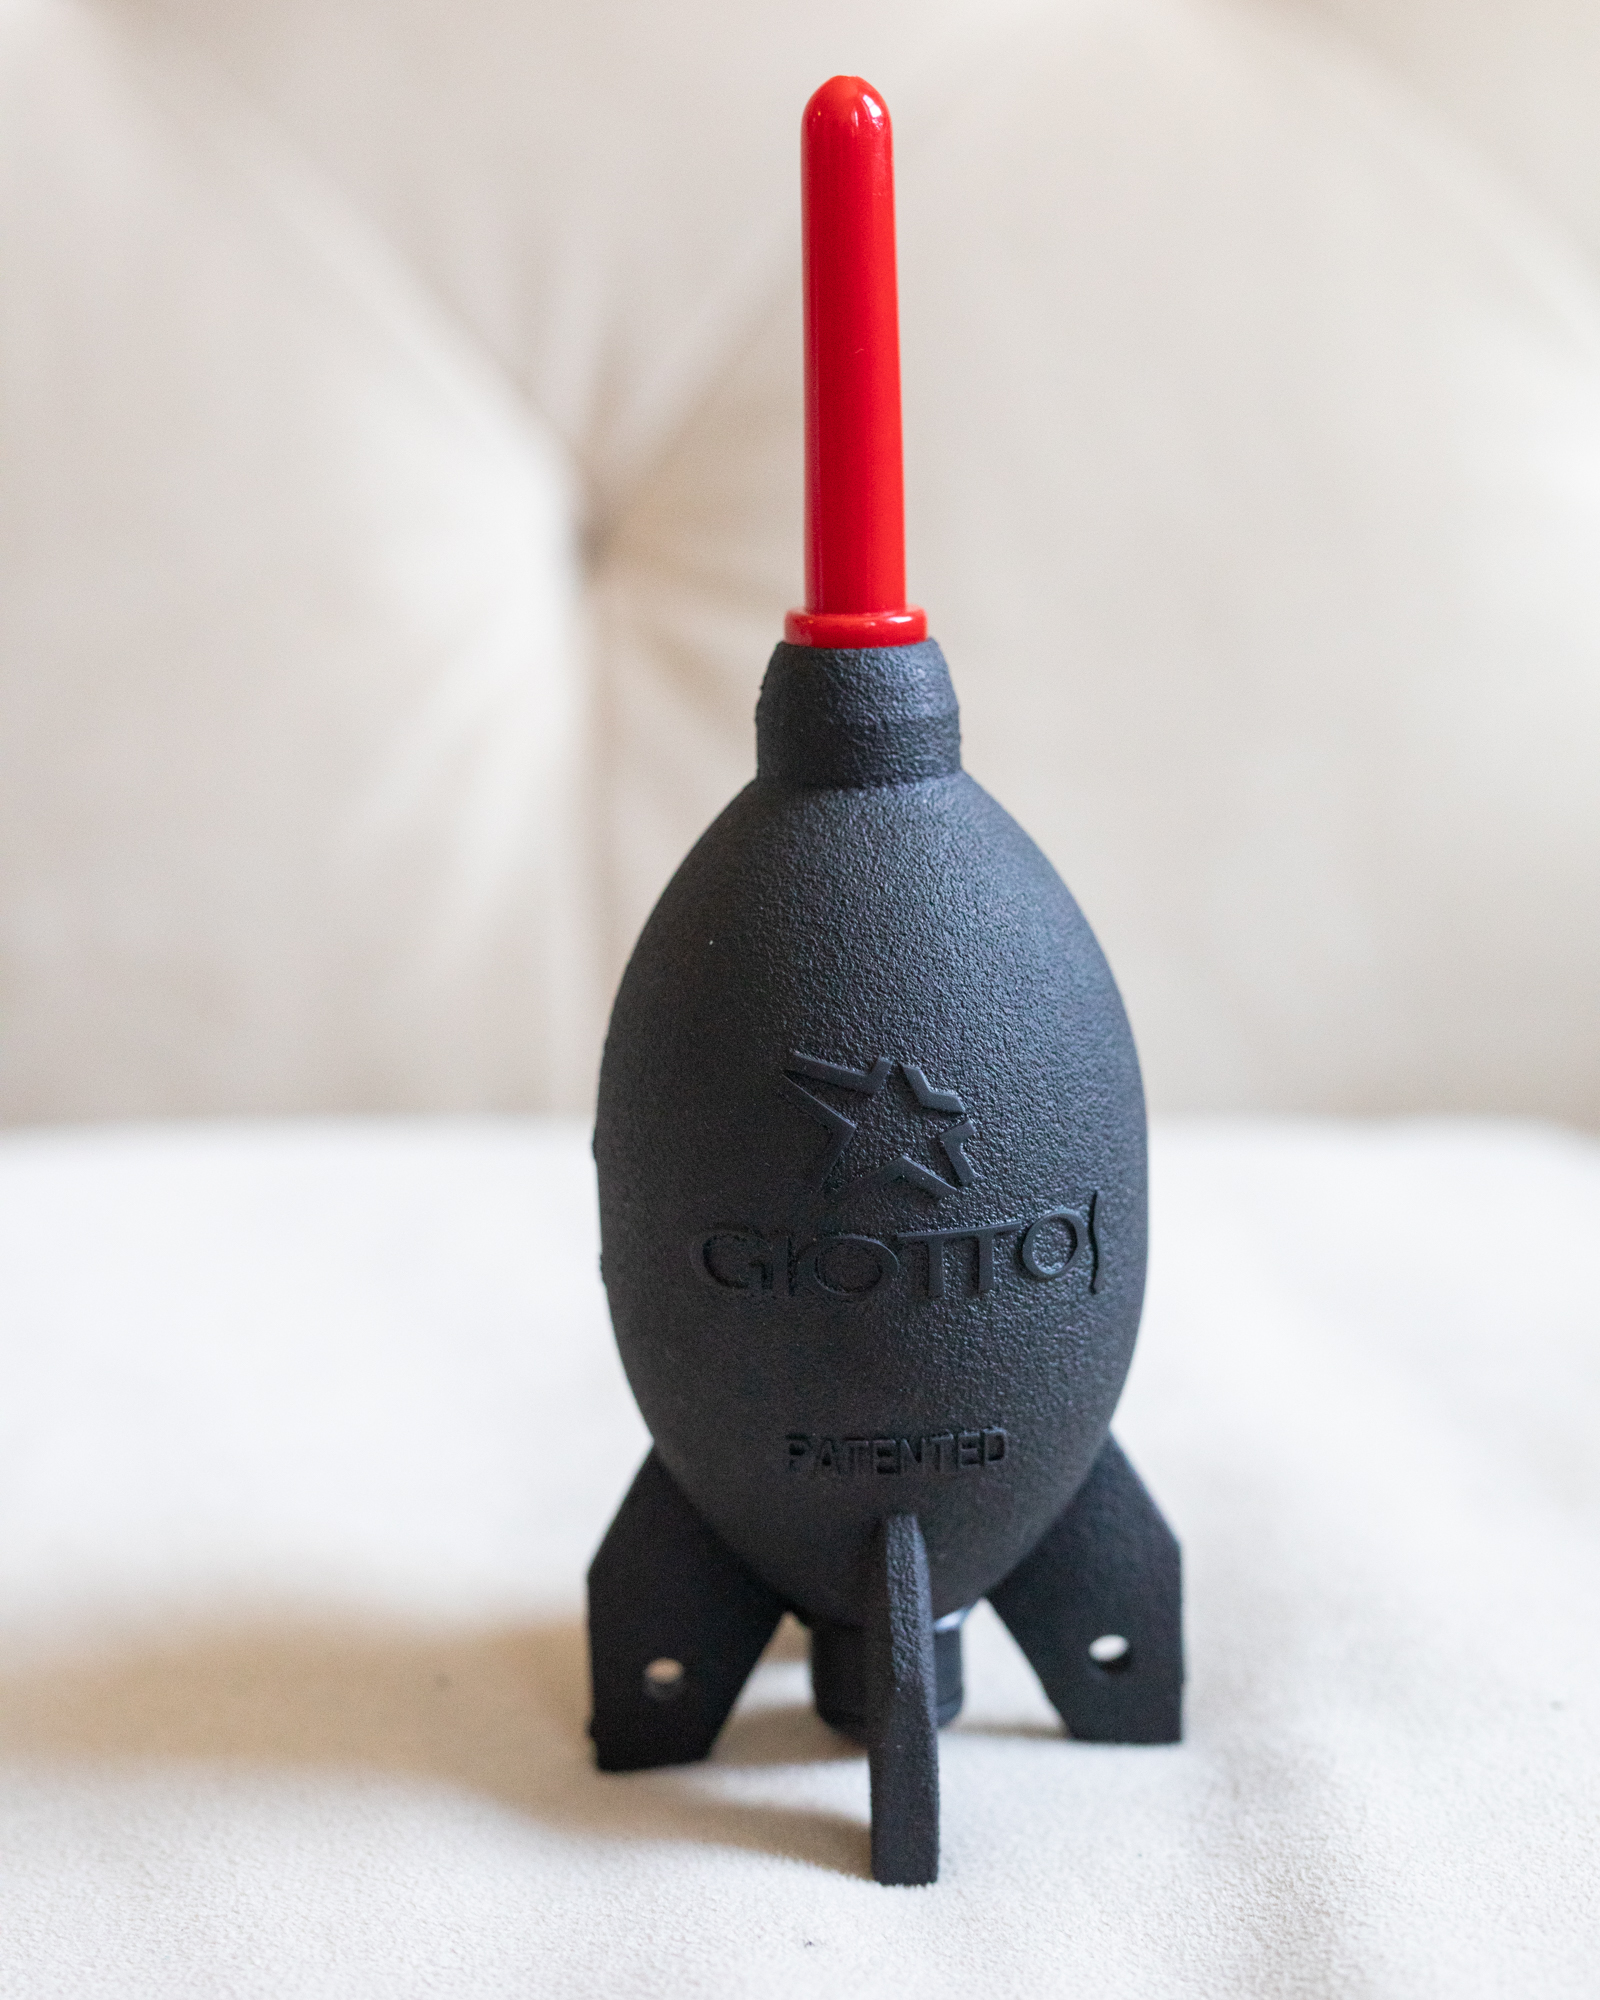
Blower - This will help blow off any dust from your lenses and other items. A must for any type of photography.
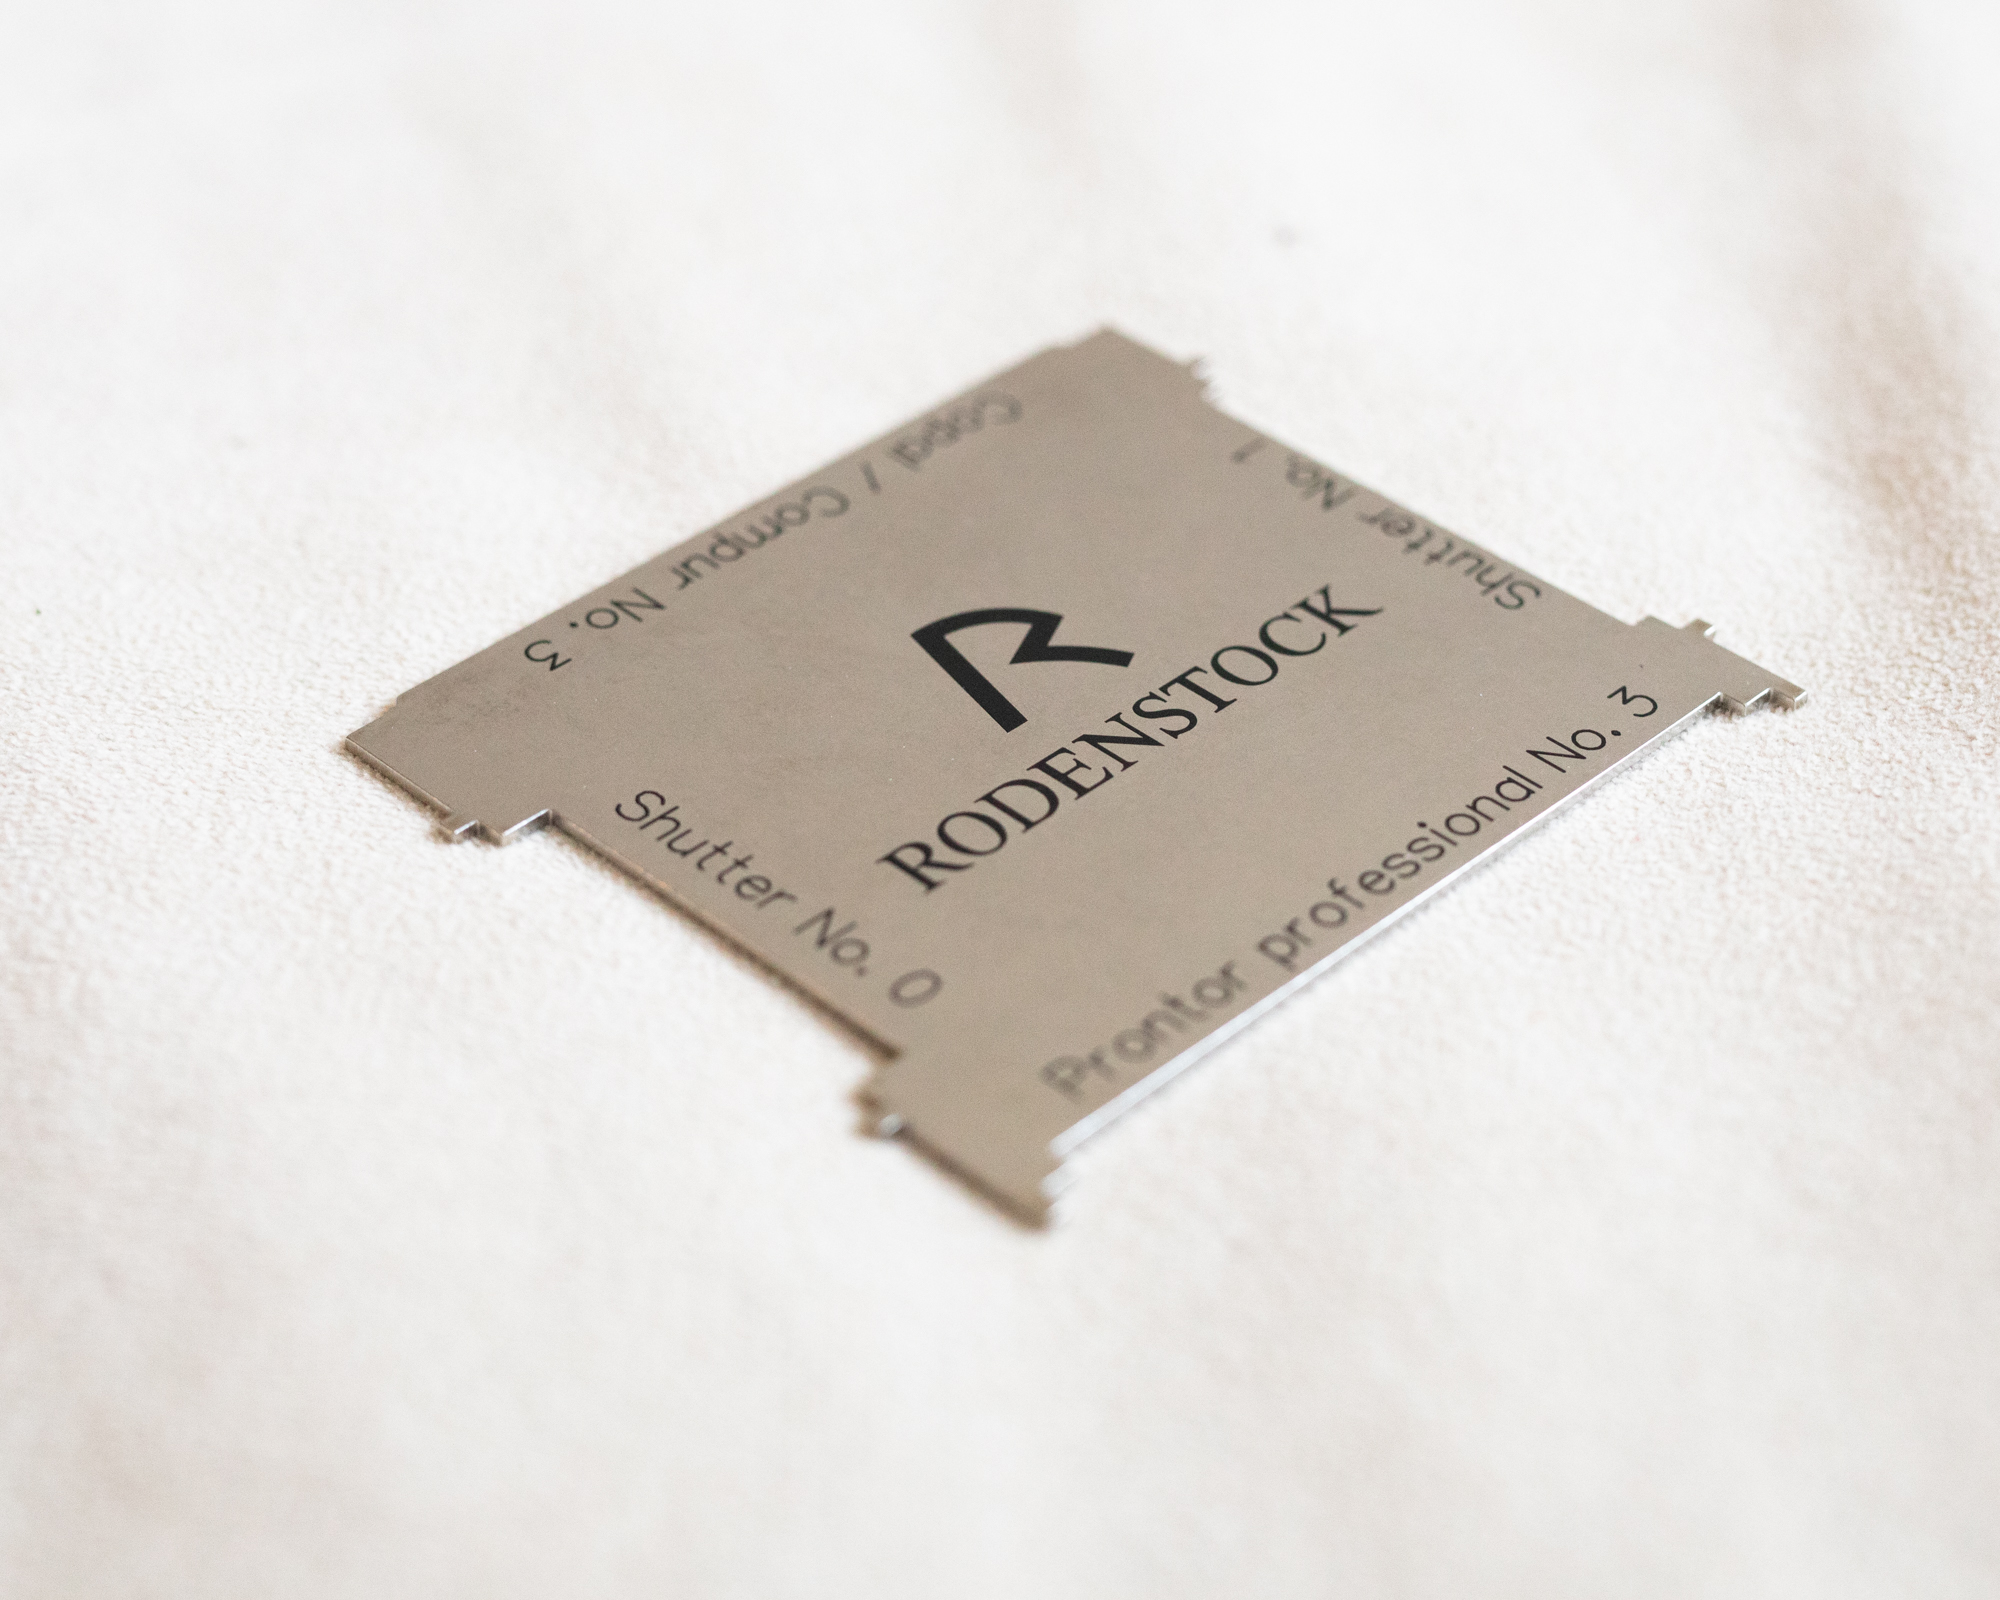
Rodenstock Lens Wrench - This item is not required but it is if you need to attach a lens to a lens board. My lens is already attached and if I get another lens, it will have it’s own lens board. I just keep in here just in case and to keep all my 4x5 gear together.
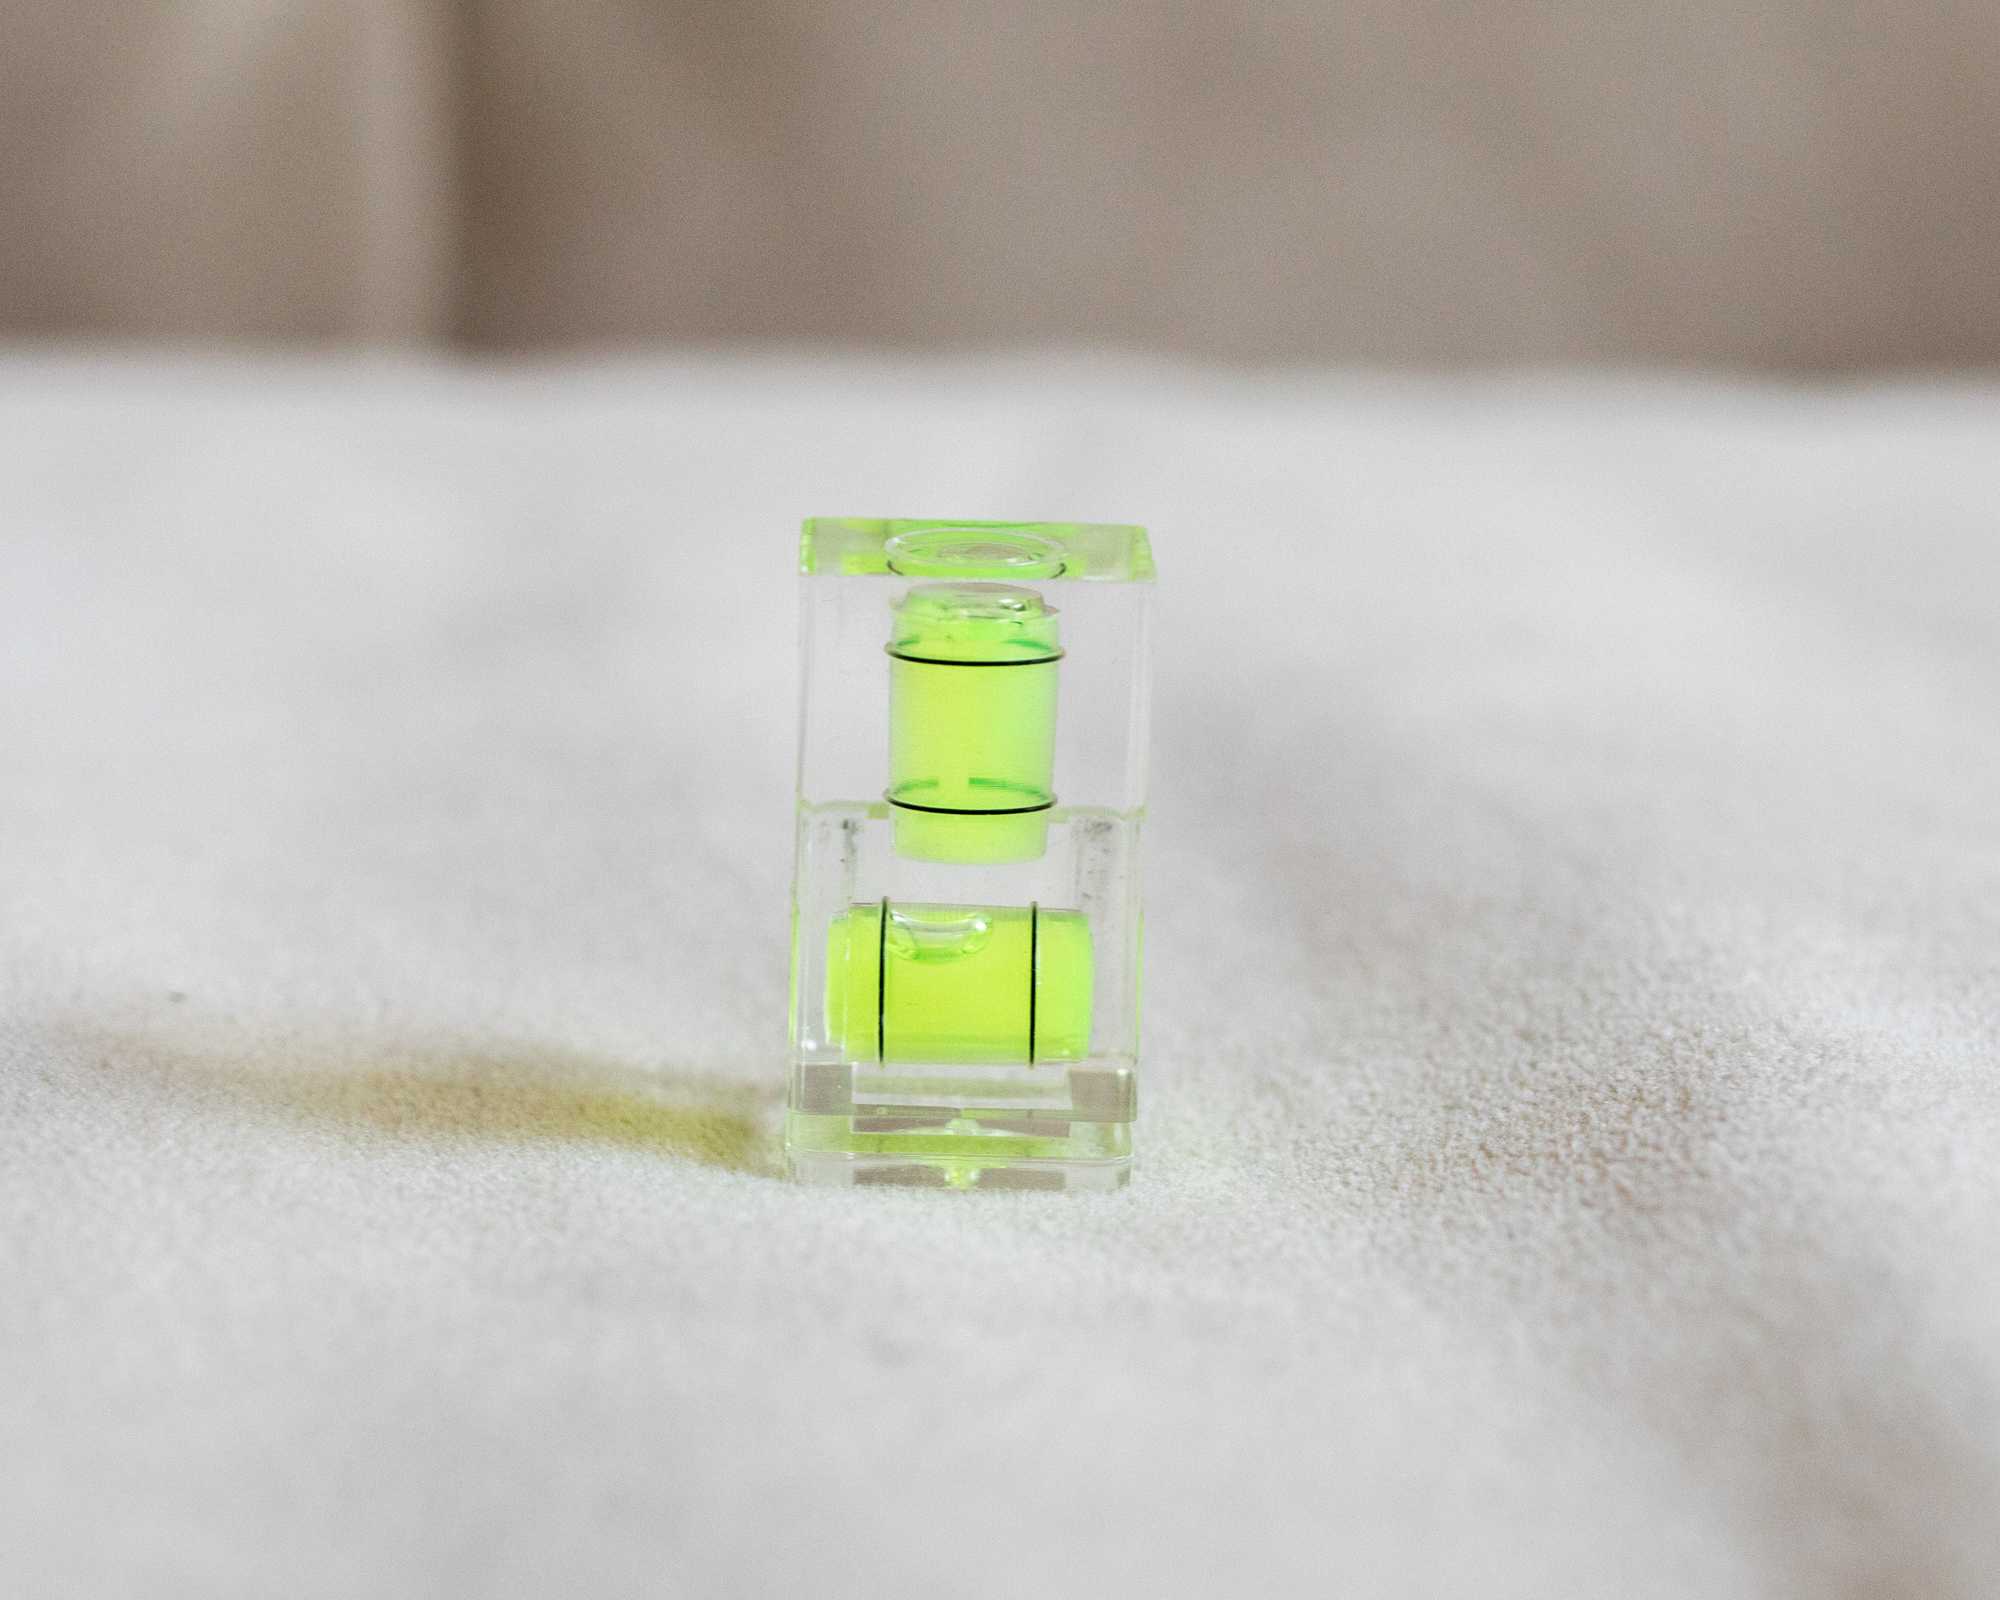
Vello Hot-Shoe Bubble Level - This item is super helpful in keeping your camera level. While most tripods have levels I find this way more useful. It’s going to be on your camera which makes it easy to view.
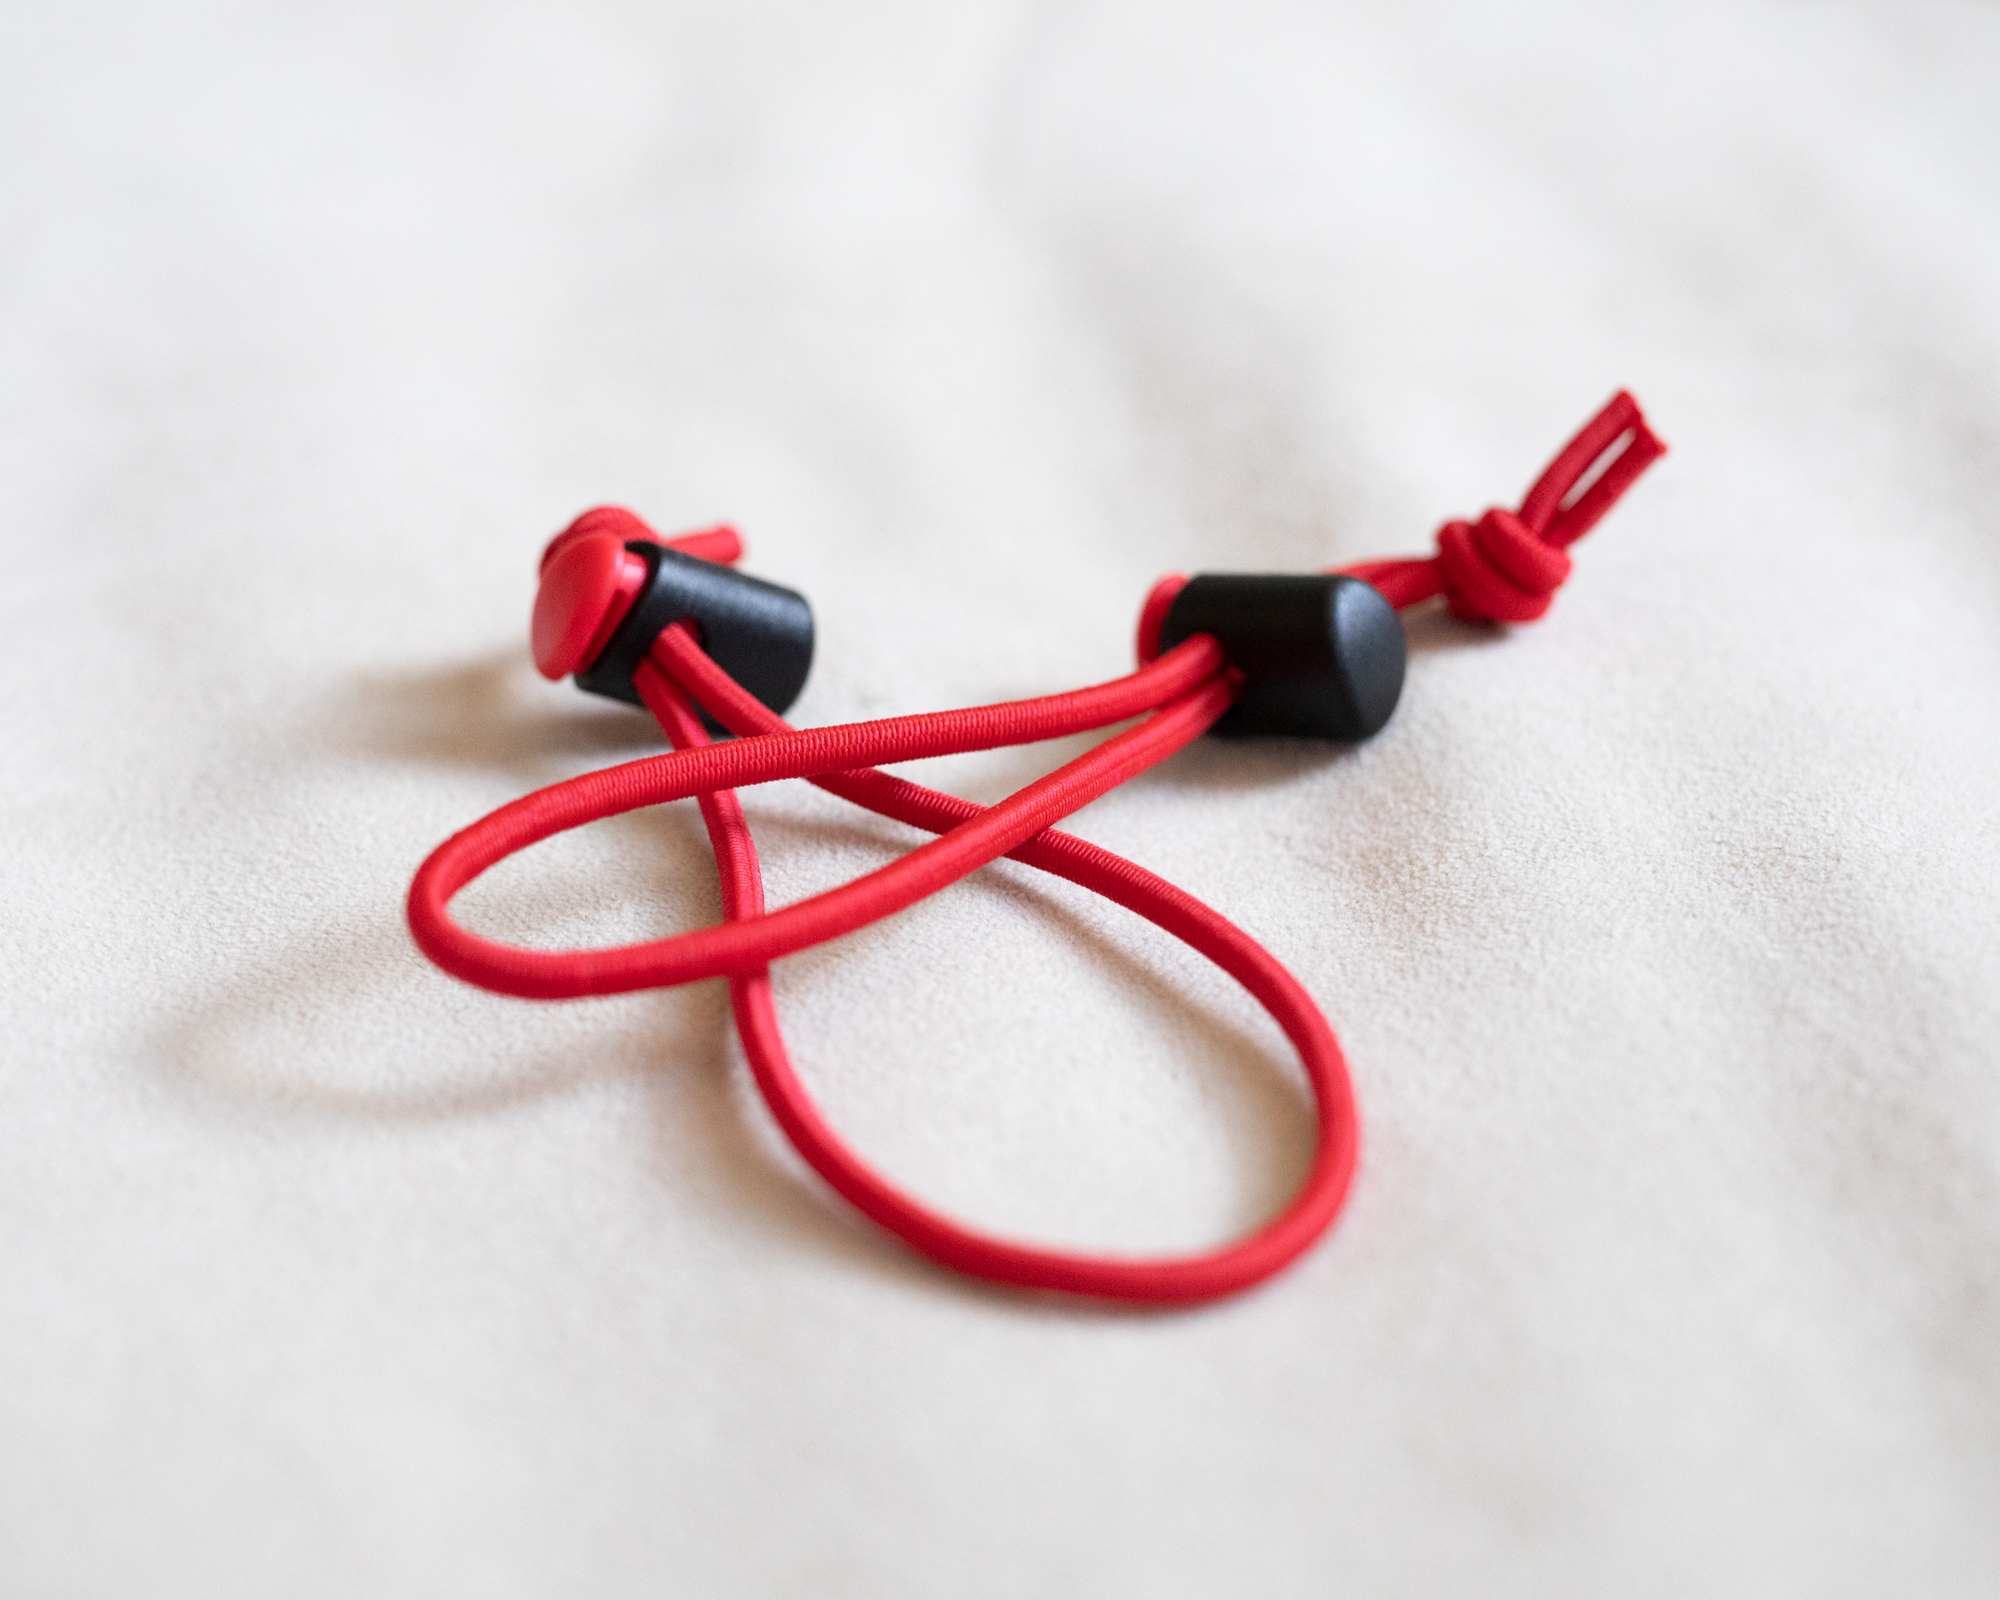
Peak Design Cable Ties - I have a bunch of these in all my camera bags. It can be used to mark items, keep things together, and can help in so many circumstances. If you don’t have them, some rubber bands can work as well.
Miscellaneous Items
Dark Cloth - You need to cover yourself while viewing the ground glass on the back of your camera. This will help you get a clear image to view and will help you get your image in focus.
Changing Bag - To load your film in your film holders you either need a room with absolutely no light or one of these. I keep it in my bag just in case you need to load more film (haven’t had to do that yet but you never know)
Light Tight Box - You need to store your exposed film in these if change out your film in the field. An empty box of 4x5 film is great because it is protected from light.
Pen & Paper - It’s a good idea to write down notes. I should be doing this.
Gaffers Tape - A must for any camera bag, you never know when you need to tape something down.
Some Kind of Multi-tool of Knife - Again, you never know when you need to repair something. Also good for protection from bears and wild coyotes.

